
How the Perfect Image is Born: My Editing and Retouching Process
Every time we finish a shoot, the most interesting part is just beginning. When I press the shutter button, I capture the light, the emotion, and the moment. But the real magic-the transformation of a frame into the photograph you will take home-happens later, in the quiet of my studio, in front of the monitor.
I believe a beautiful photo is the result of not just the right light and pose, but also meticulous work with color and detail. That’s why I don’t use automatic filters. Every single image goes through three important stages on its way to your heart.
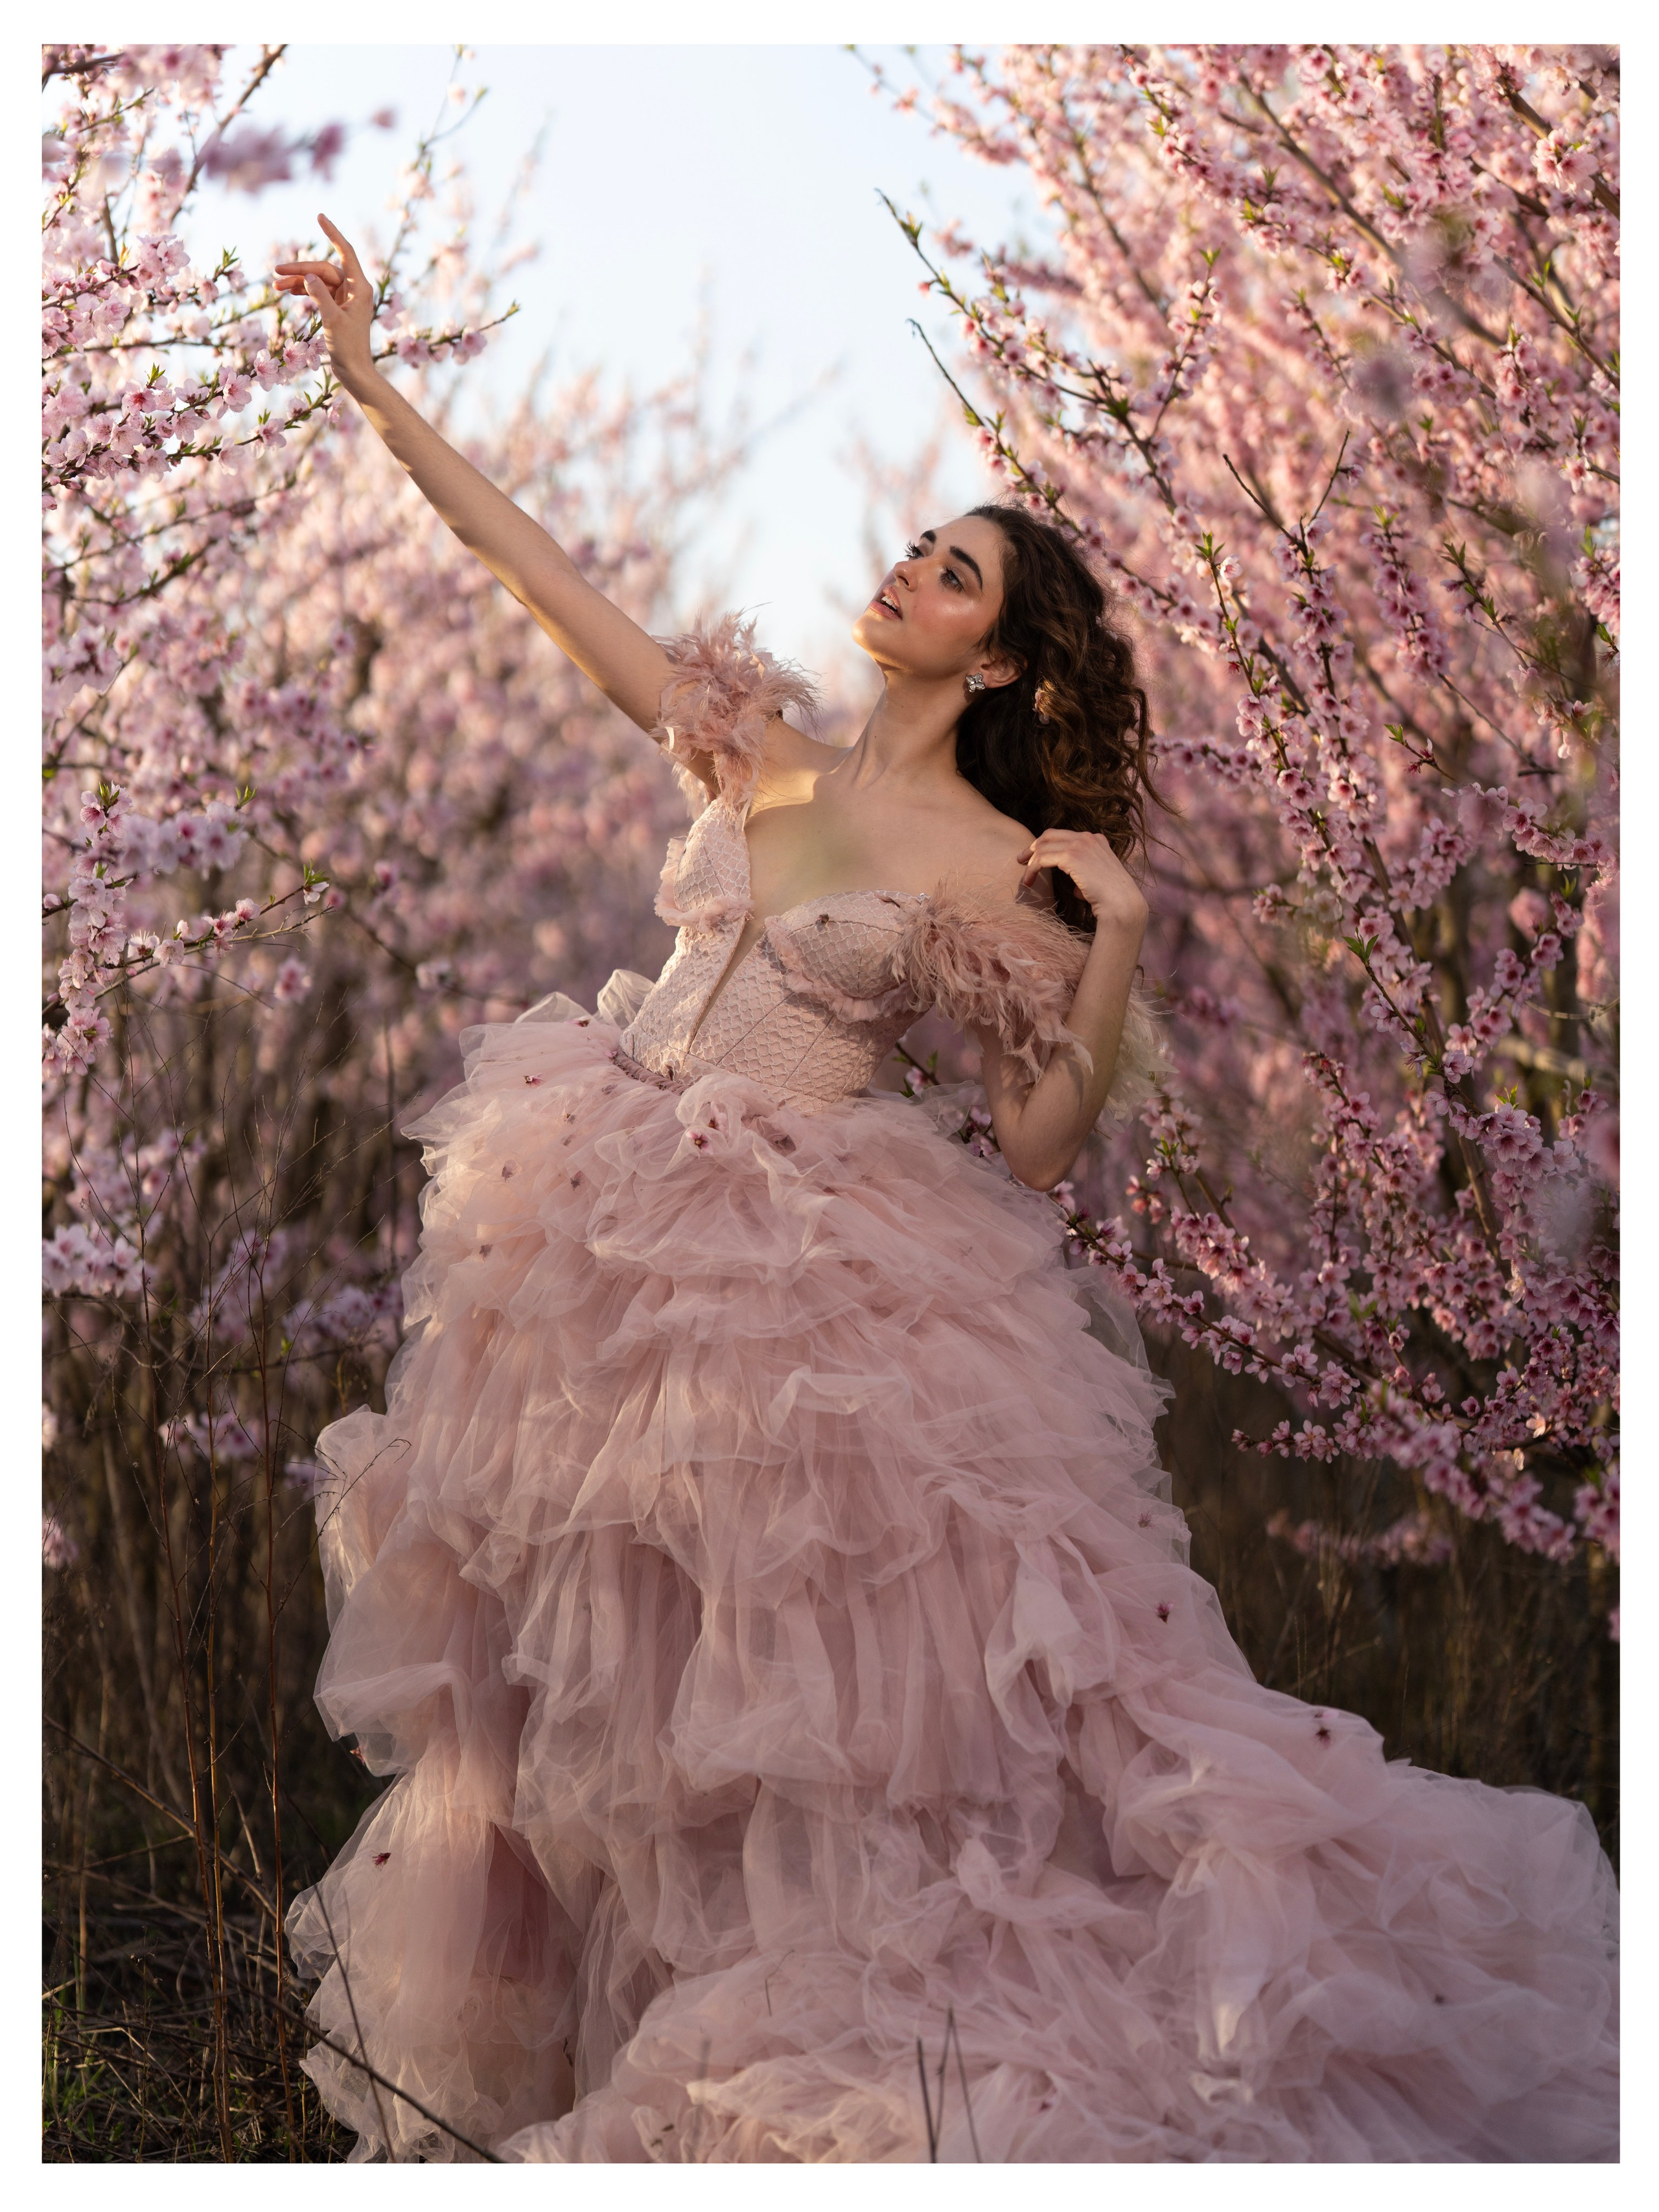
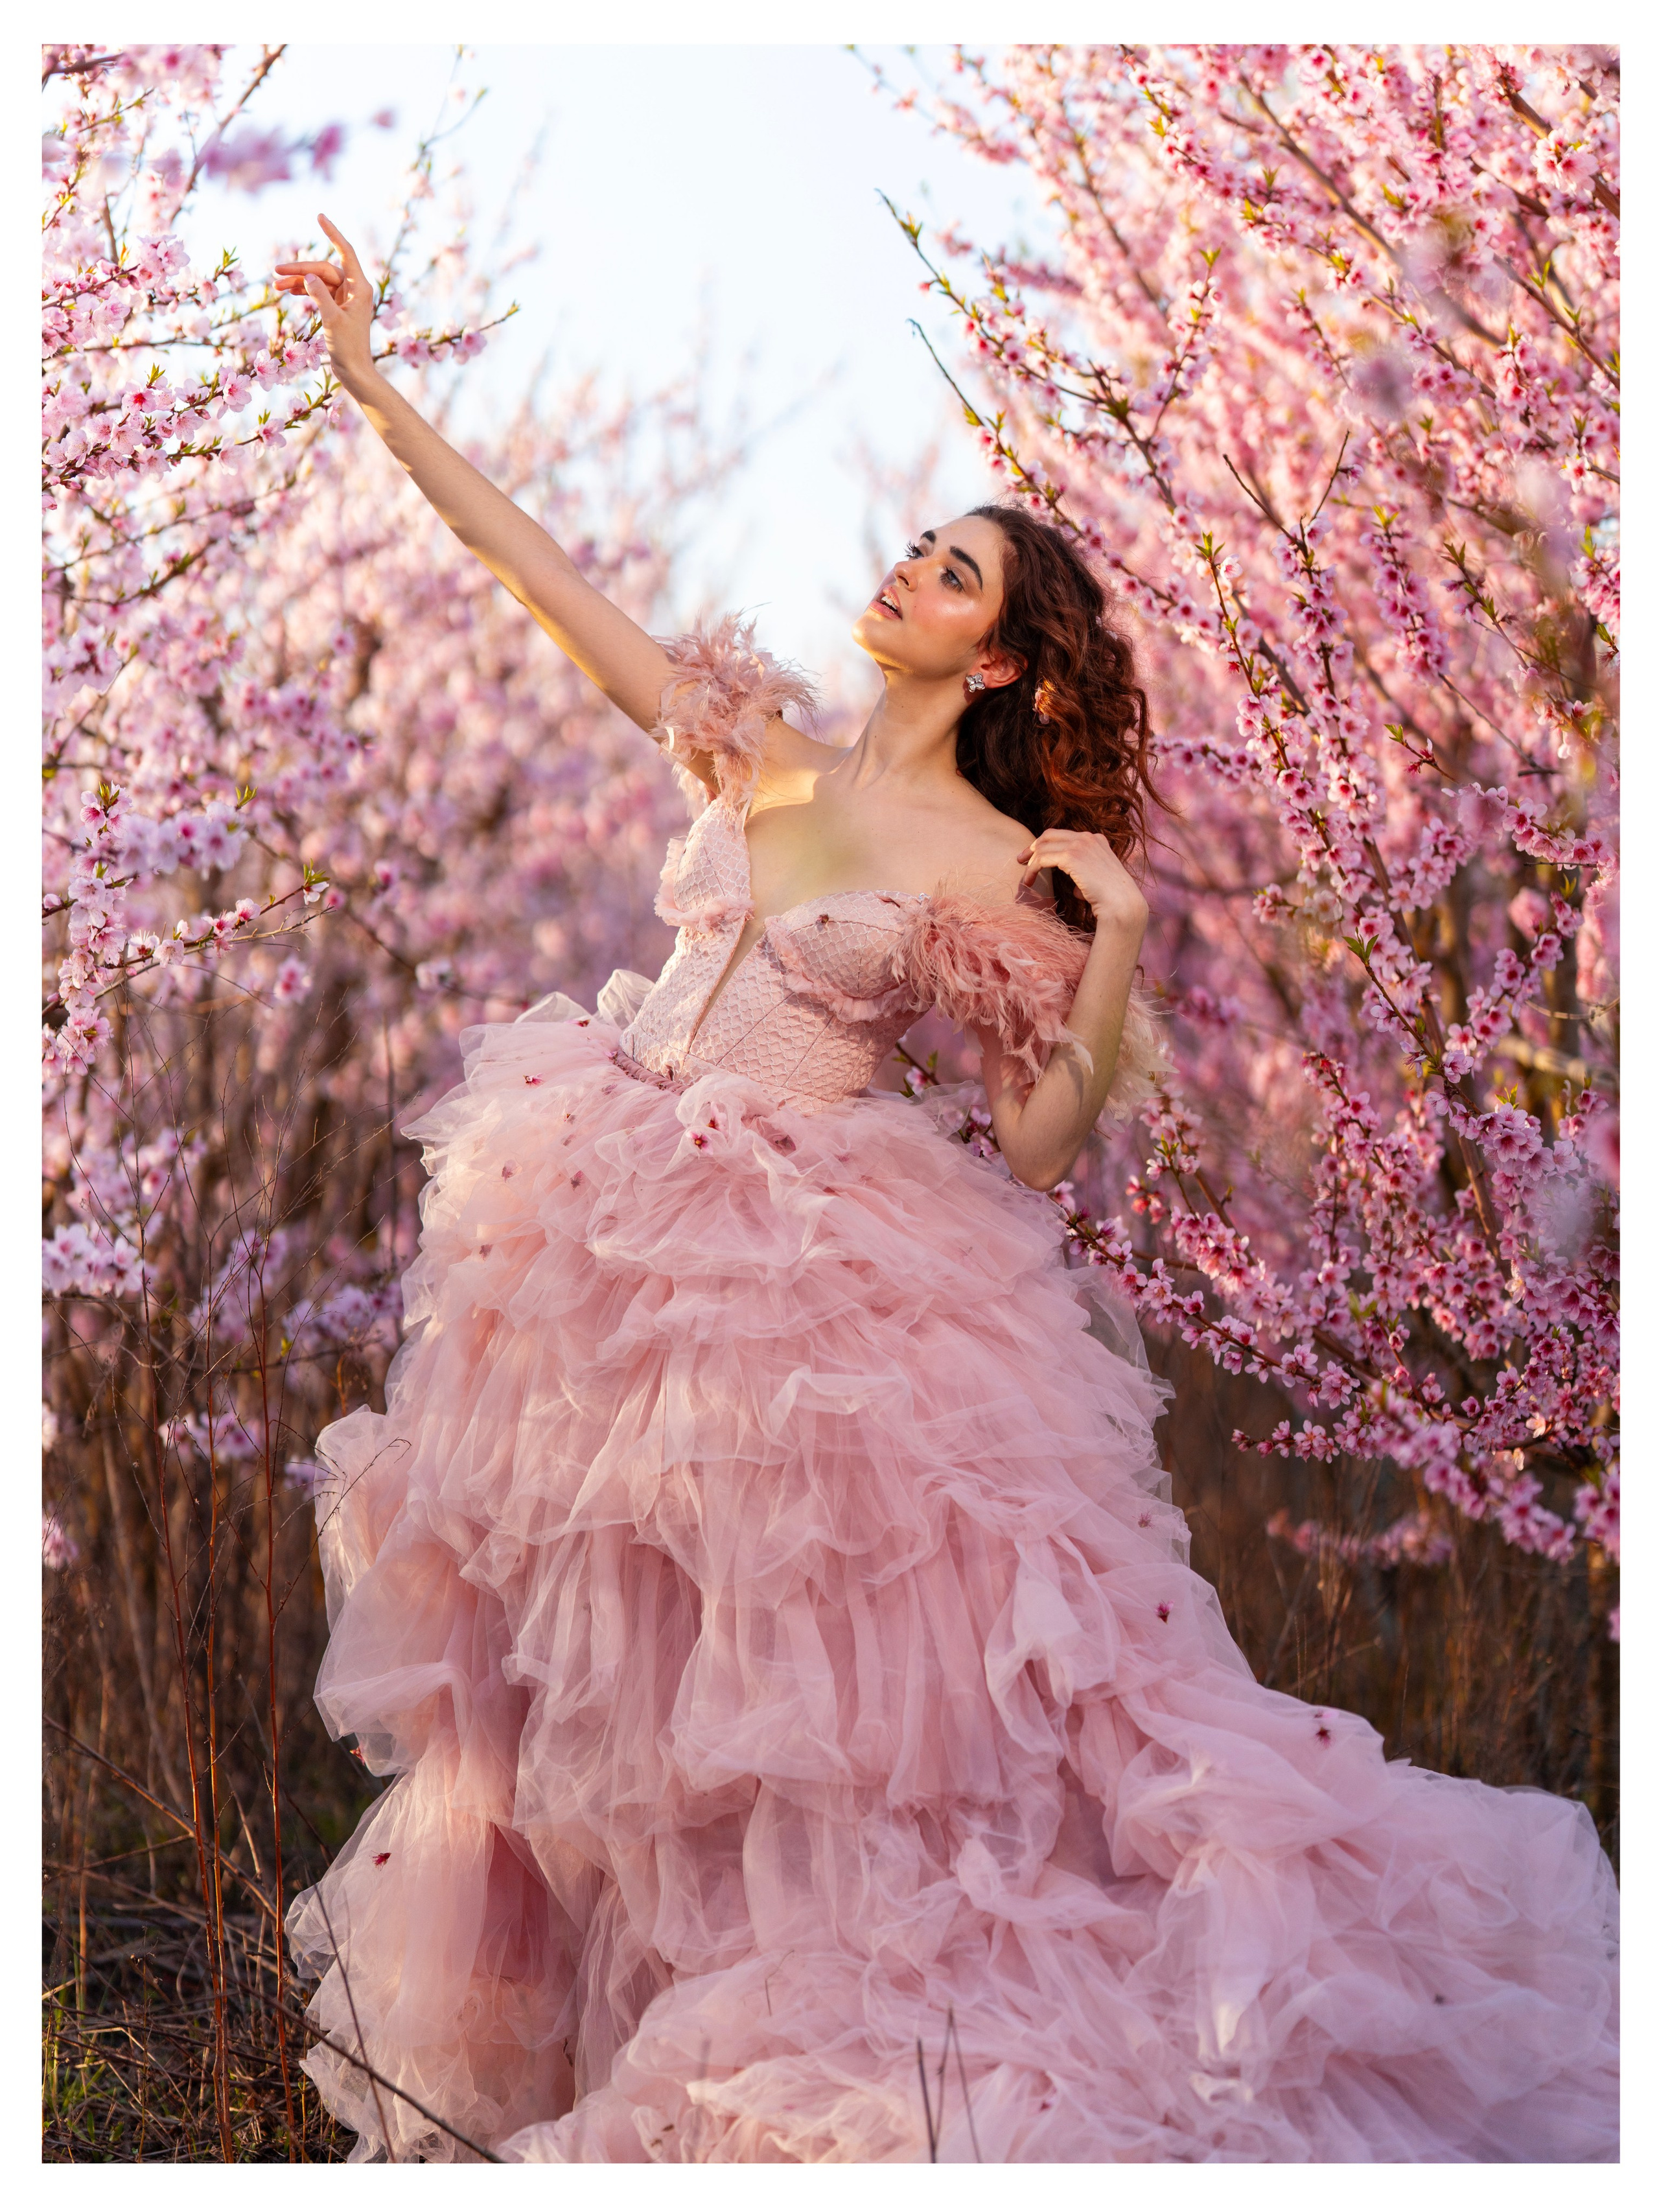
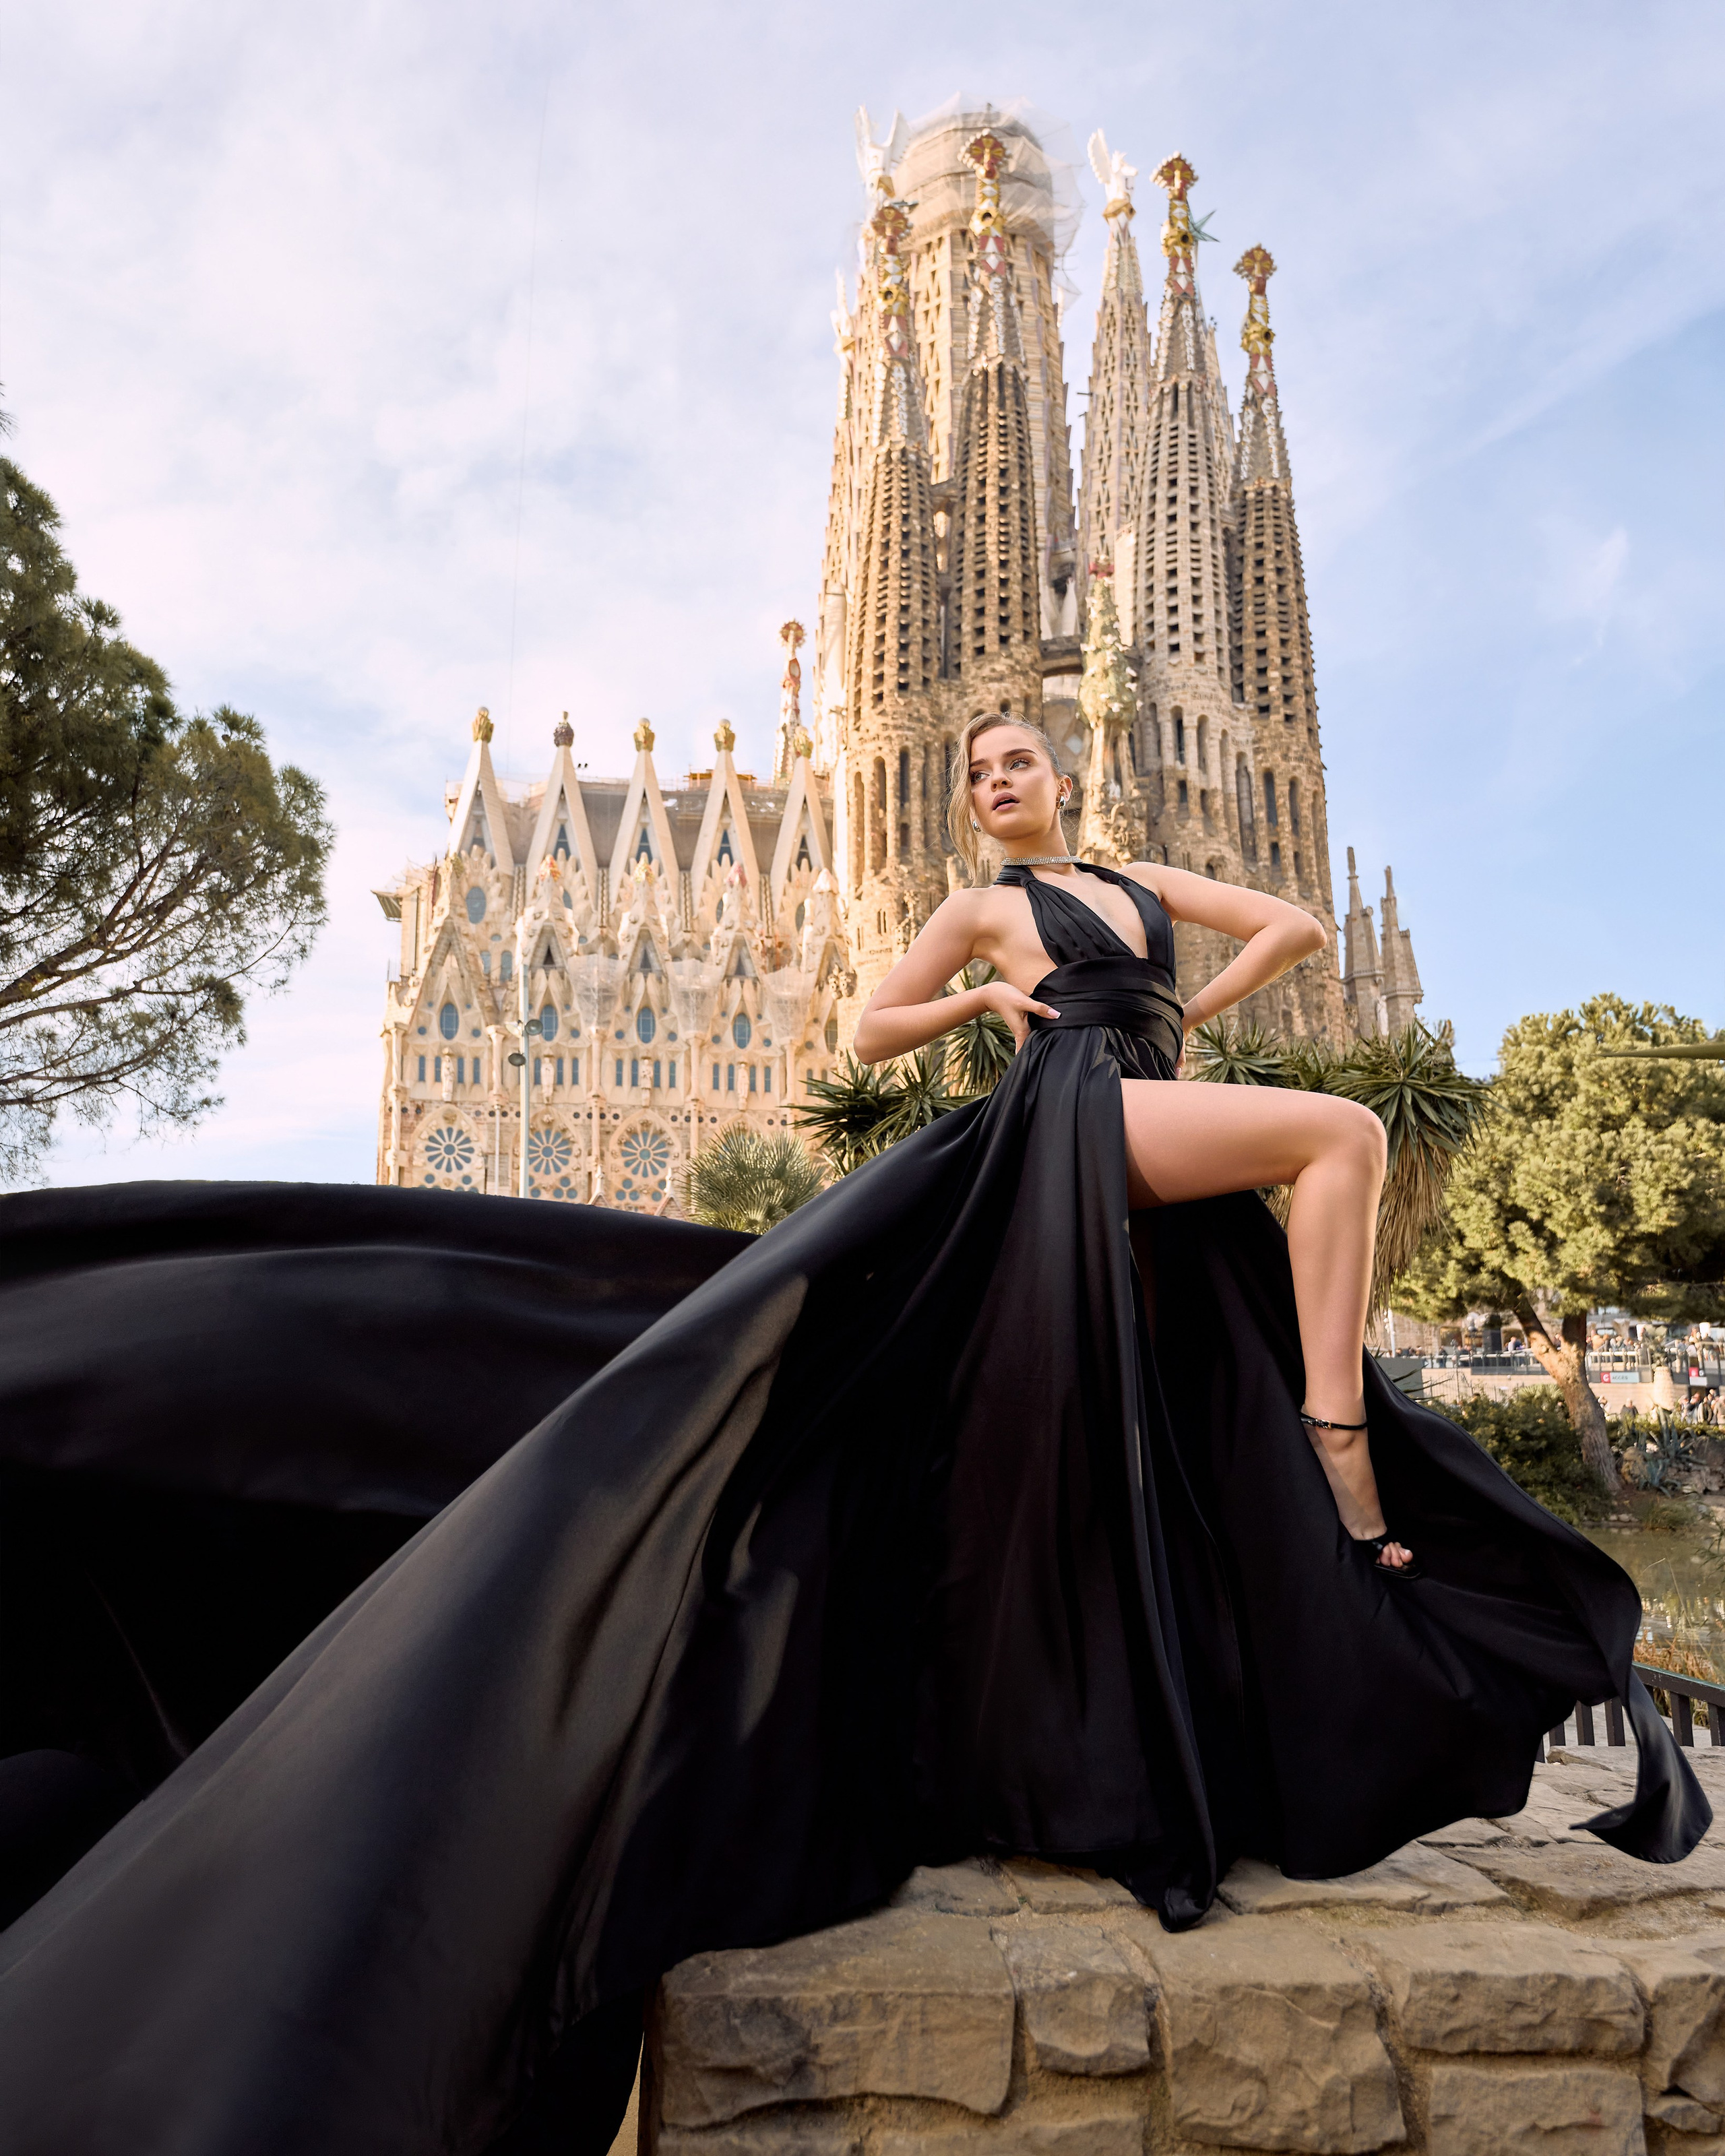
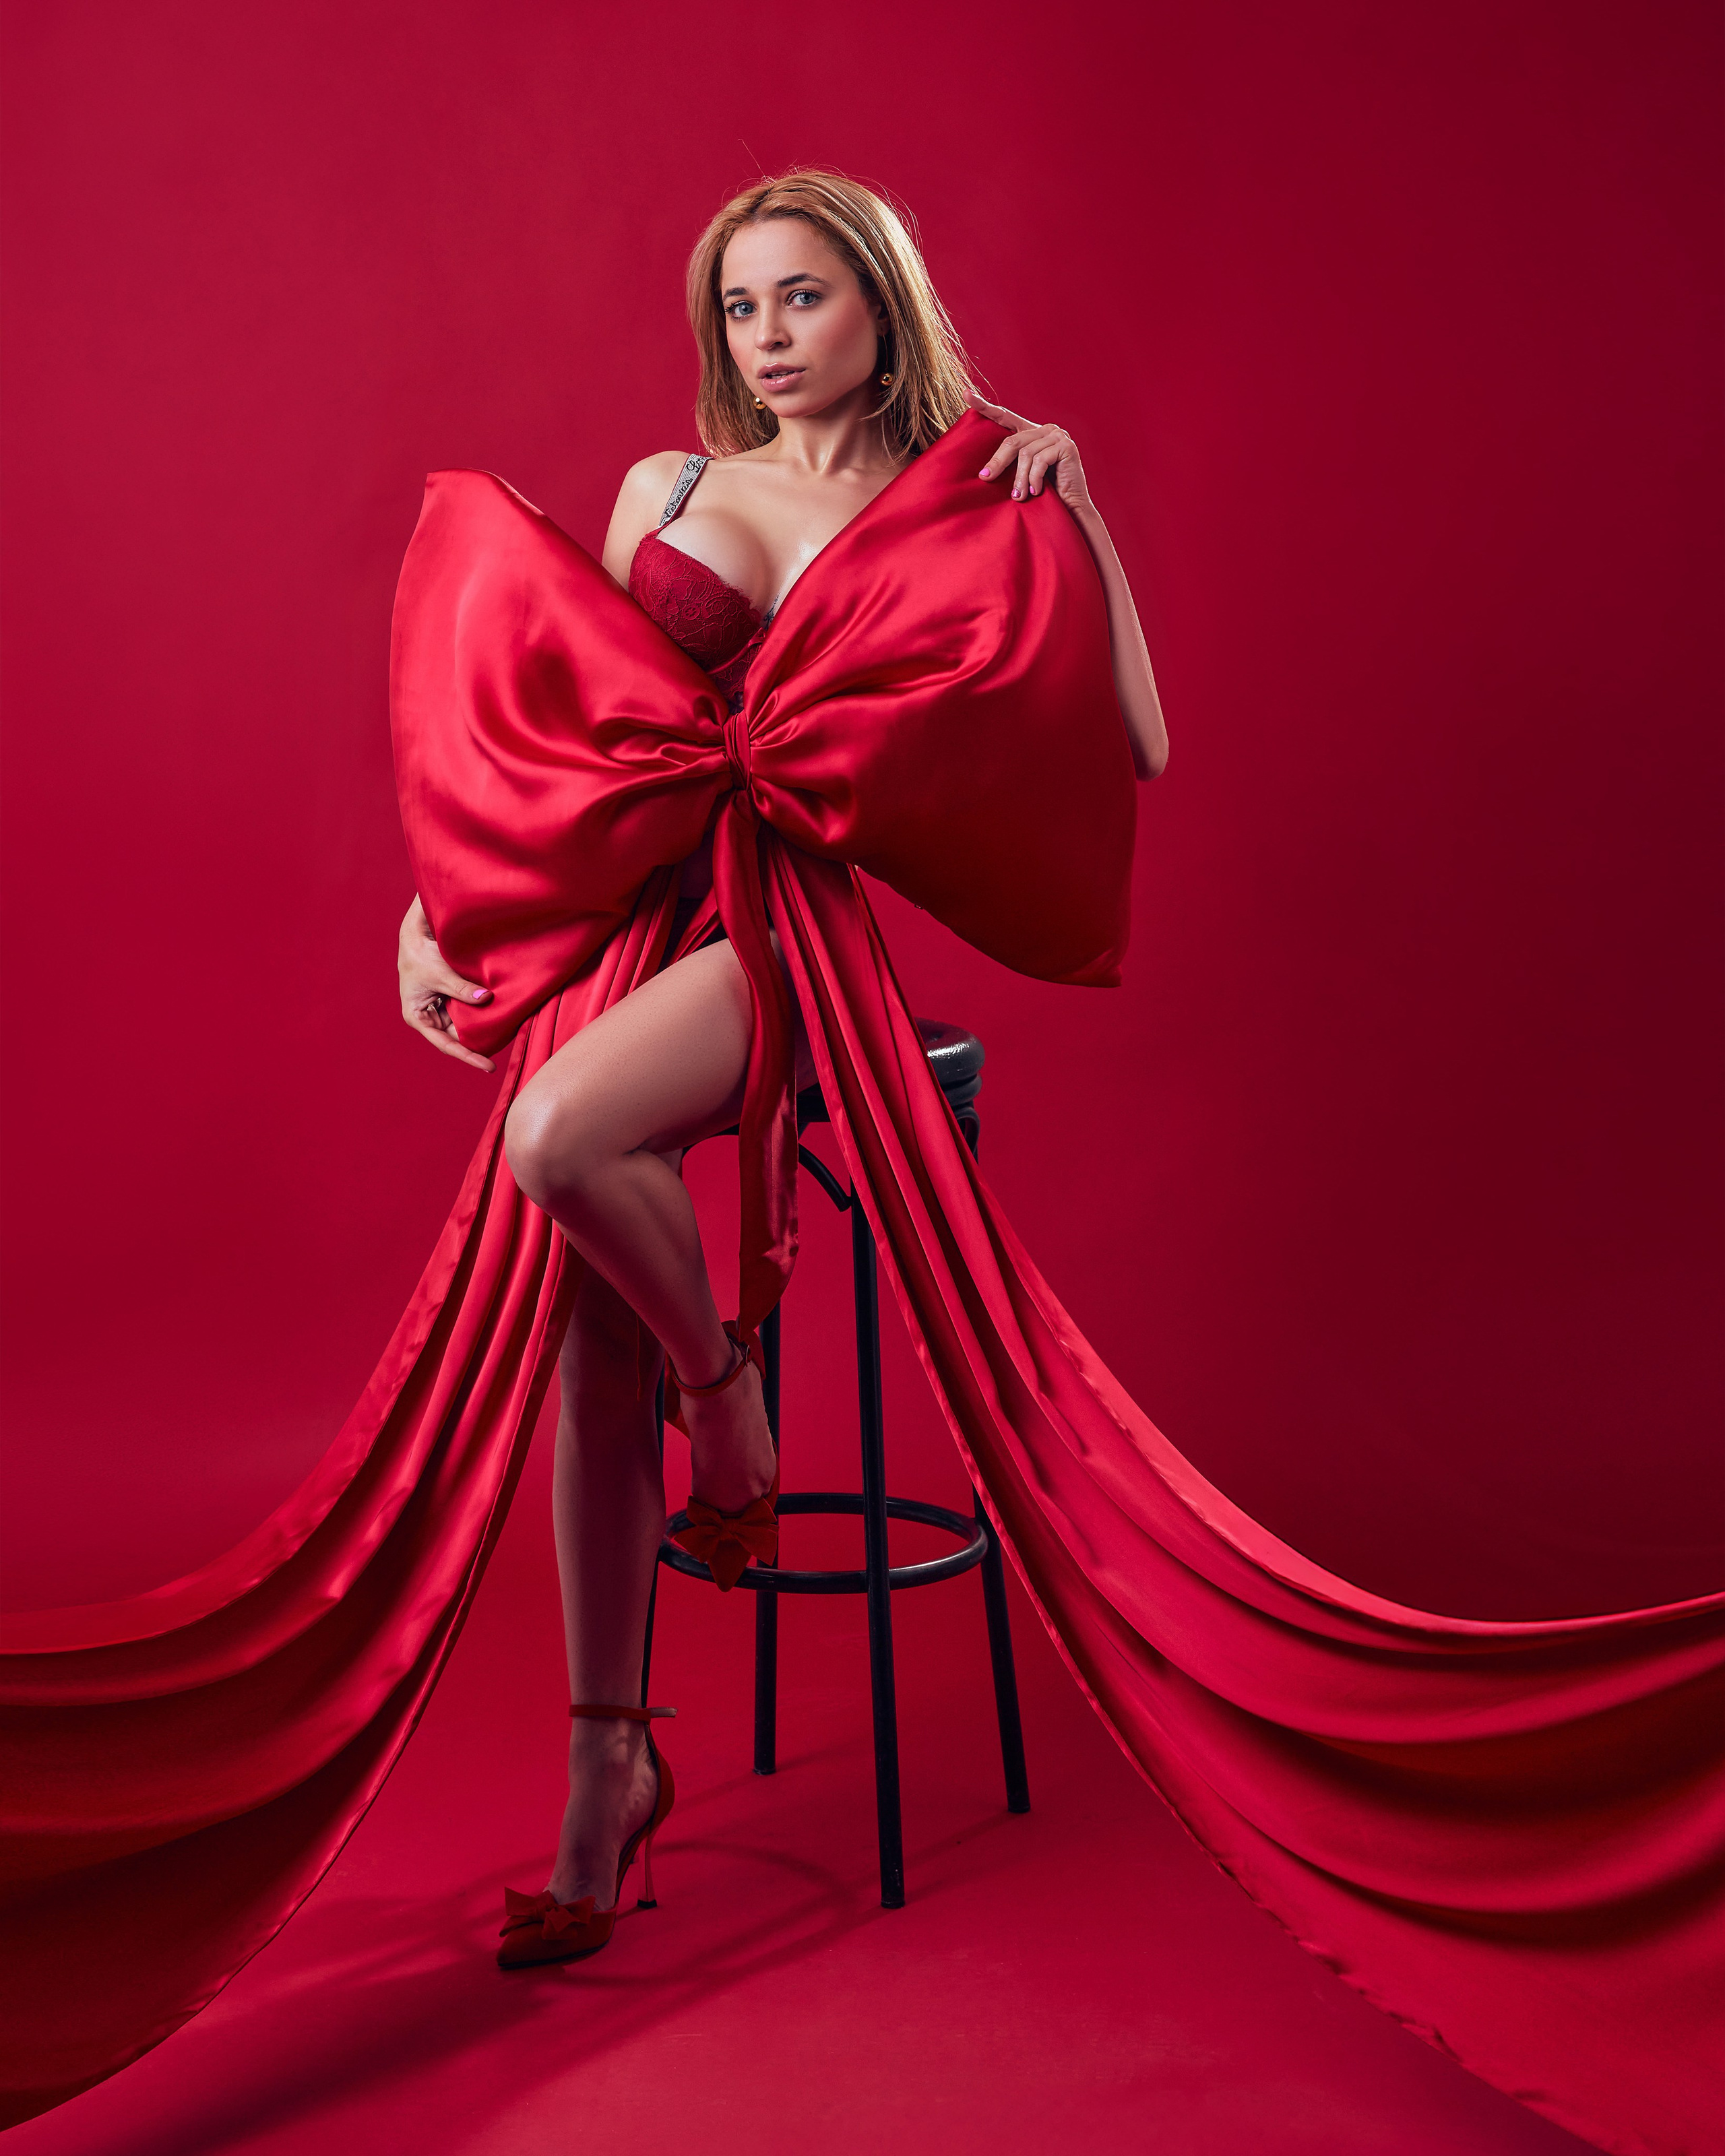
Stage 1: Development — From “Digital Negative” to Depth and Color
It all starts with the RAW file. Professionals often call it a “digital negative, ” and it’s true — it contains a maximum of information, but initially looks “flat” and “gray.” It’s a blank canvas.
First, I import the footage into Capture One - my primary tool for development. For me, this is one of the most exciting parts of the process. Here, I work with light and color the same way an artist works with paint.
It’s like I’m revealing a hidden image:
- I recover details from the shadows and highlights, giving the shot volume.
- I adjust the white balance so the skin looks natural and alive, and the colors are exactly as you remember them from that day.
- I create the mood through color grading and accents.
Already at this stage, the photograph gains depth, character, and that particular “airy” quality my clients appreciate.

Editing
Stage 1: Development — From “Digital Negative” to Depth and Color
Move the slider to see the result before and after editing
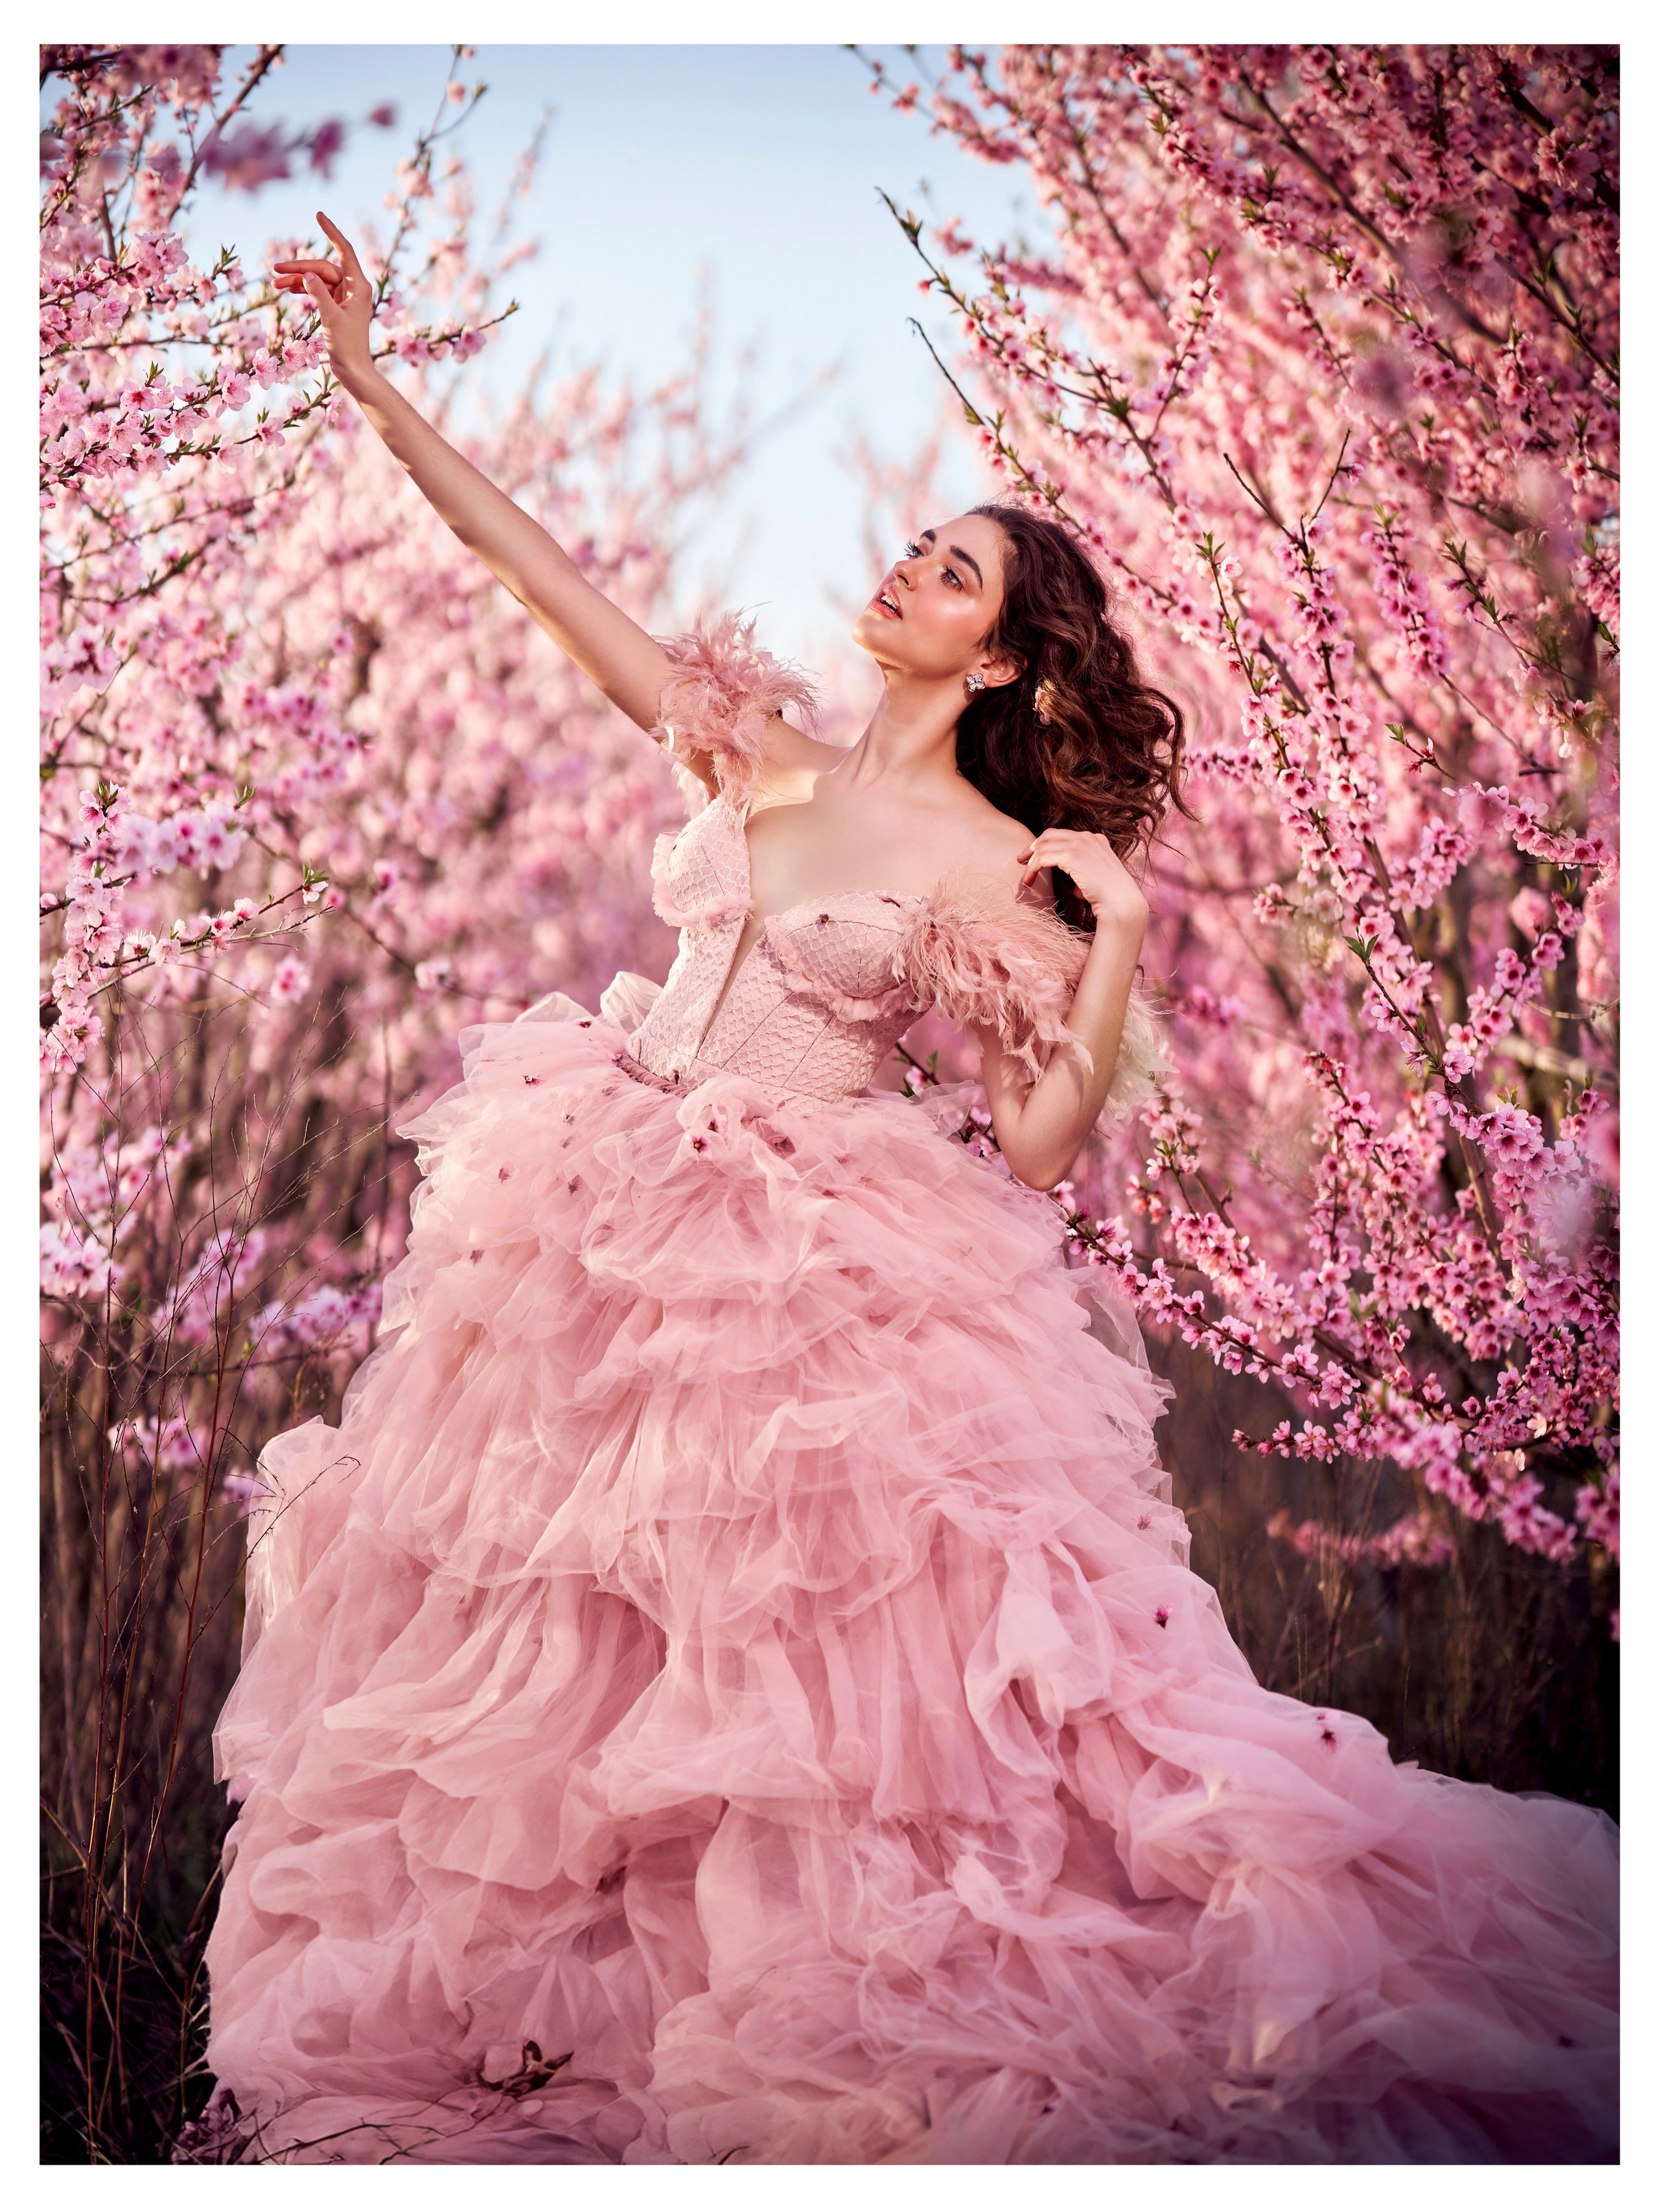
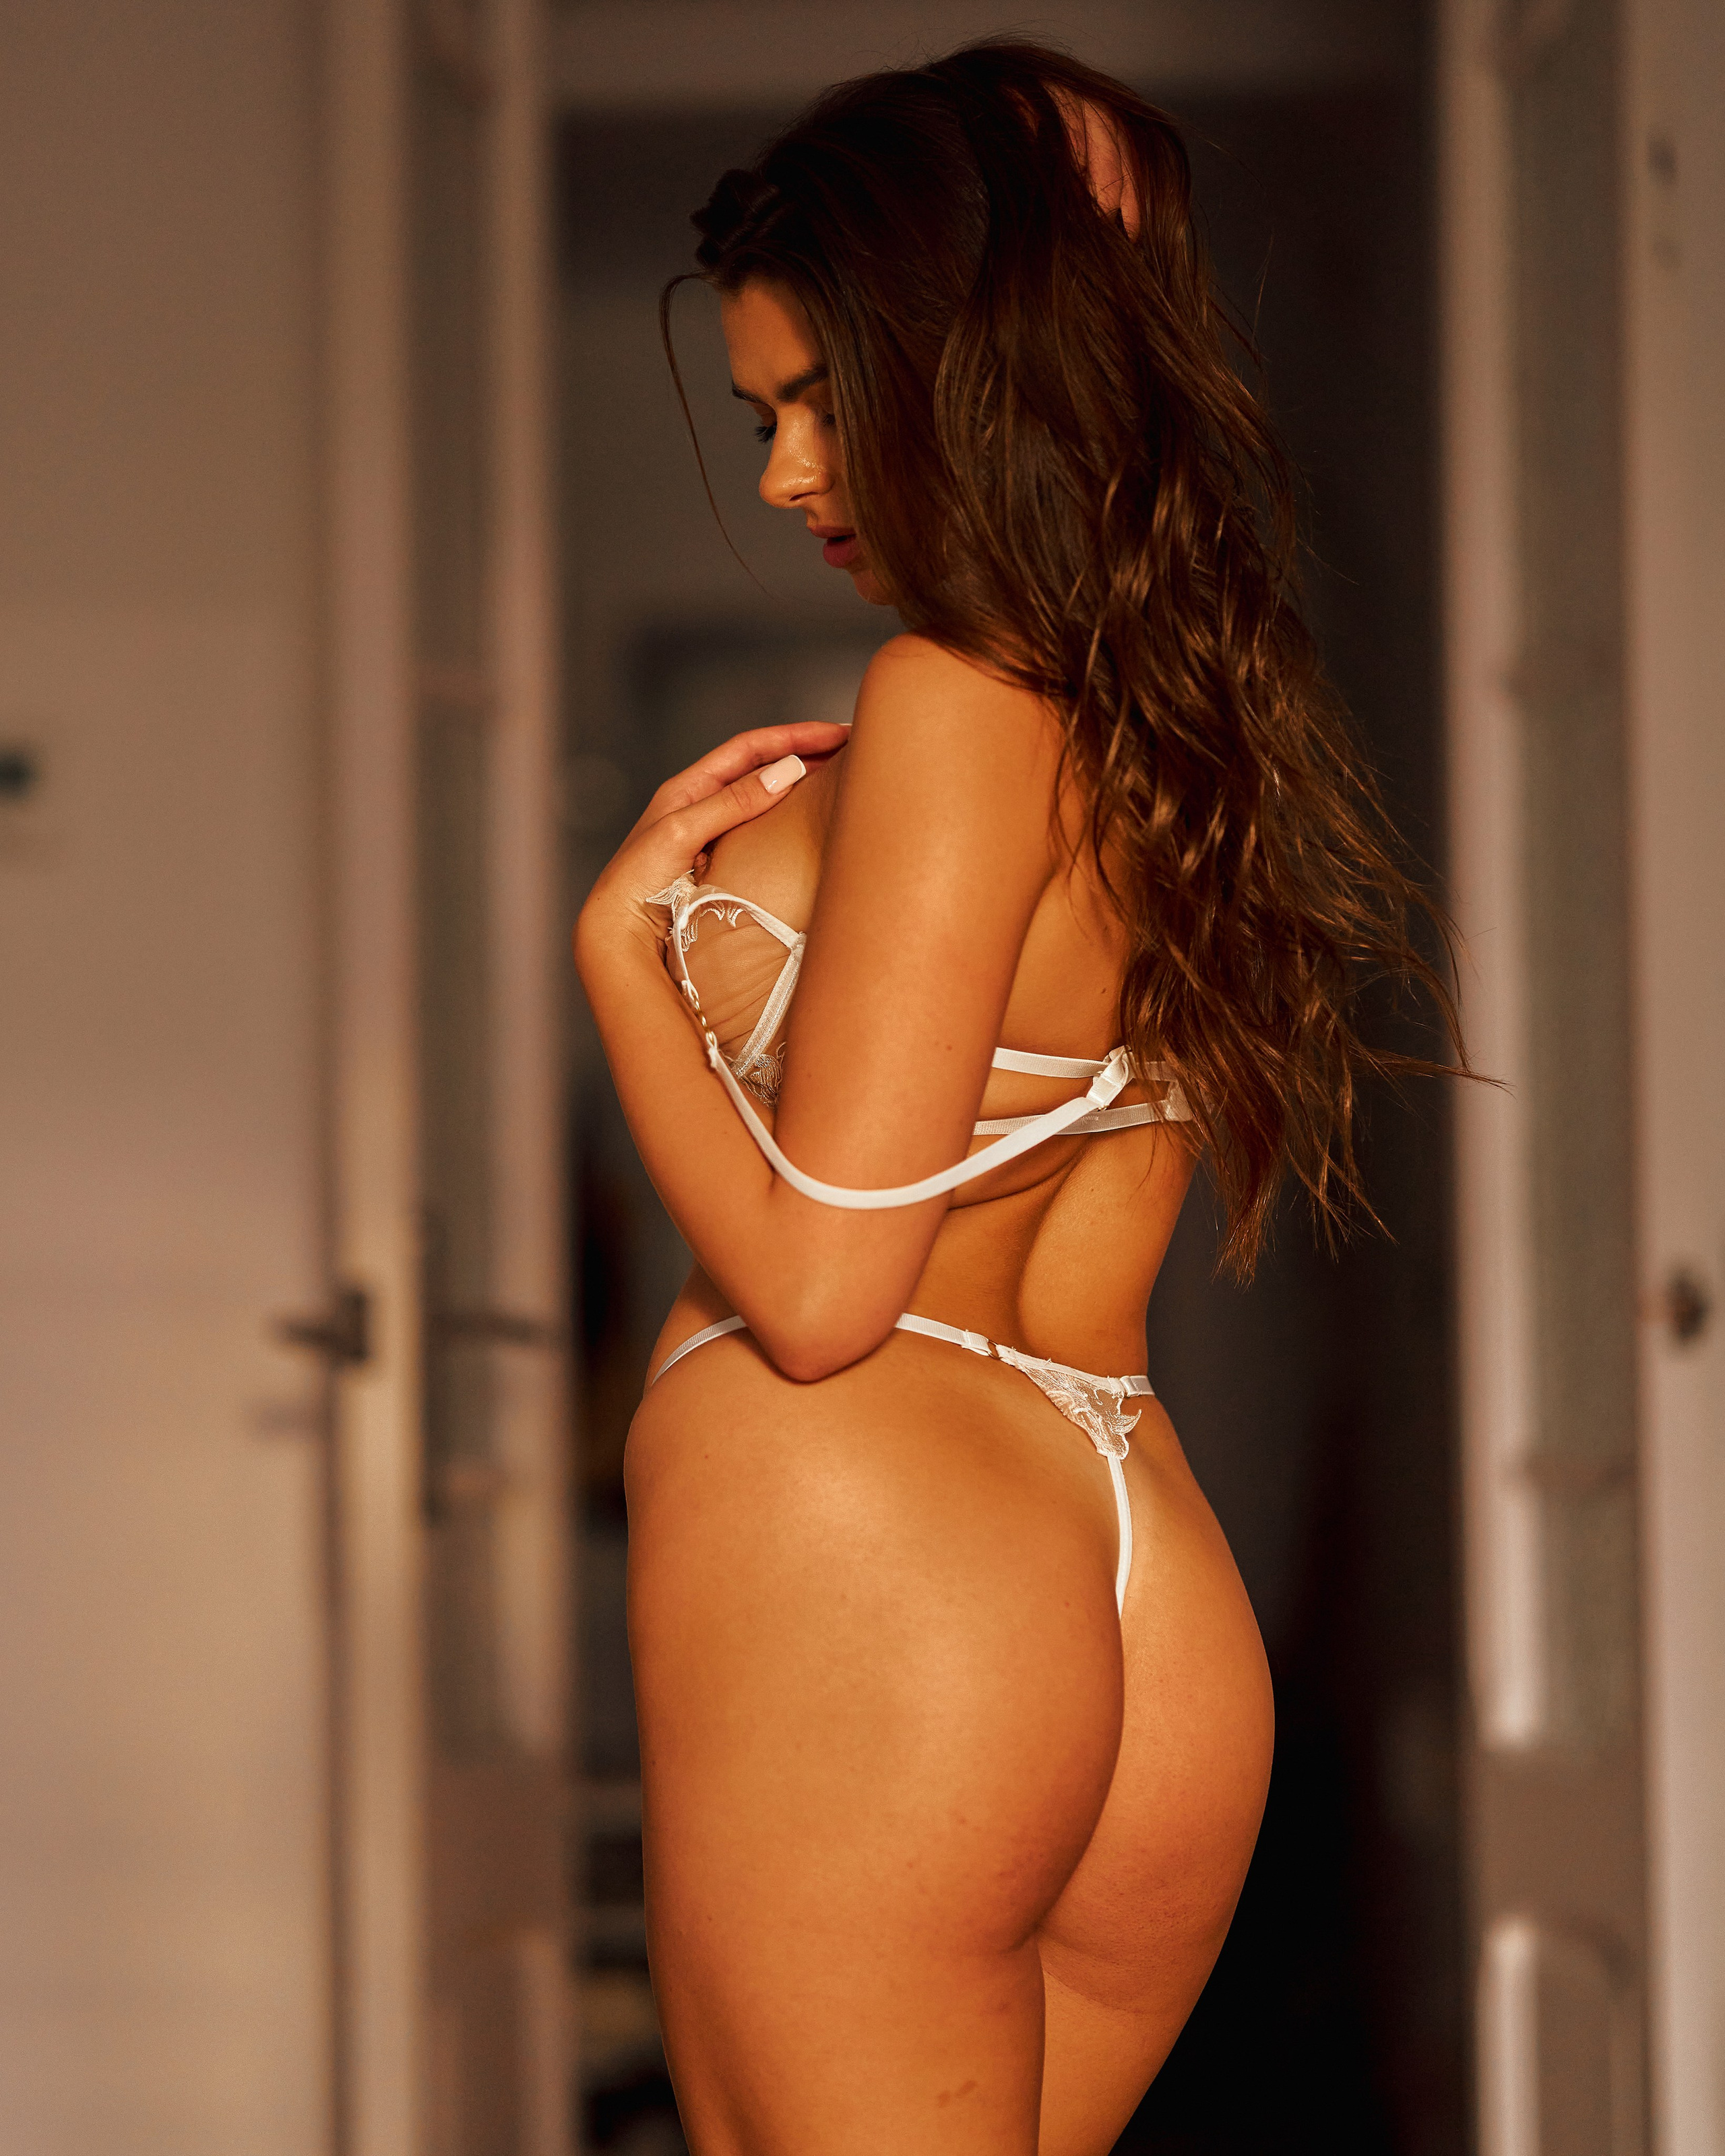
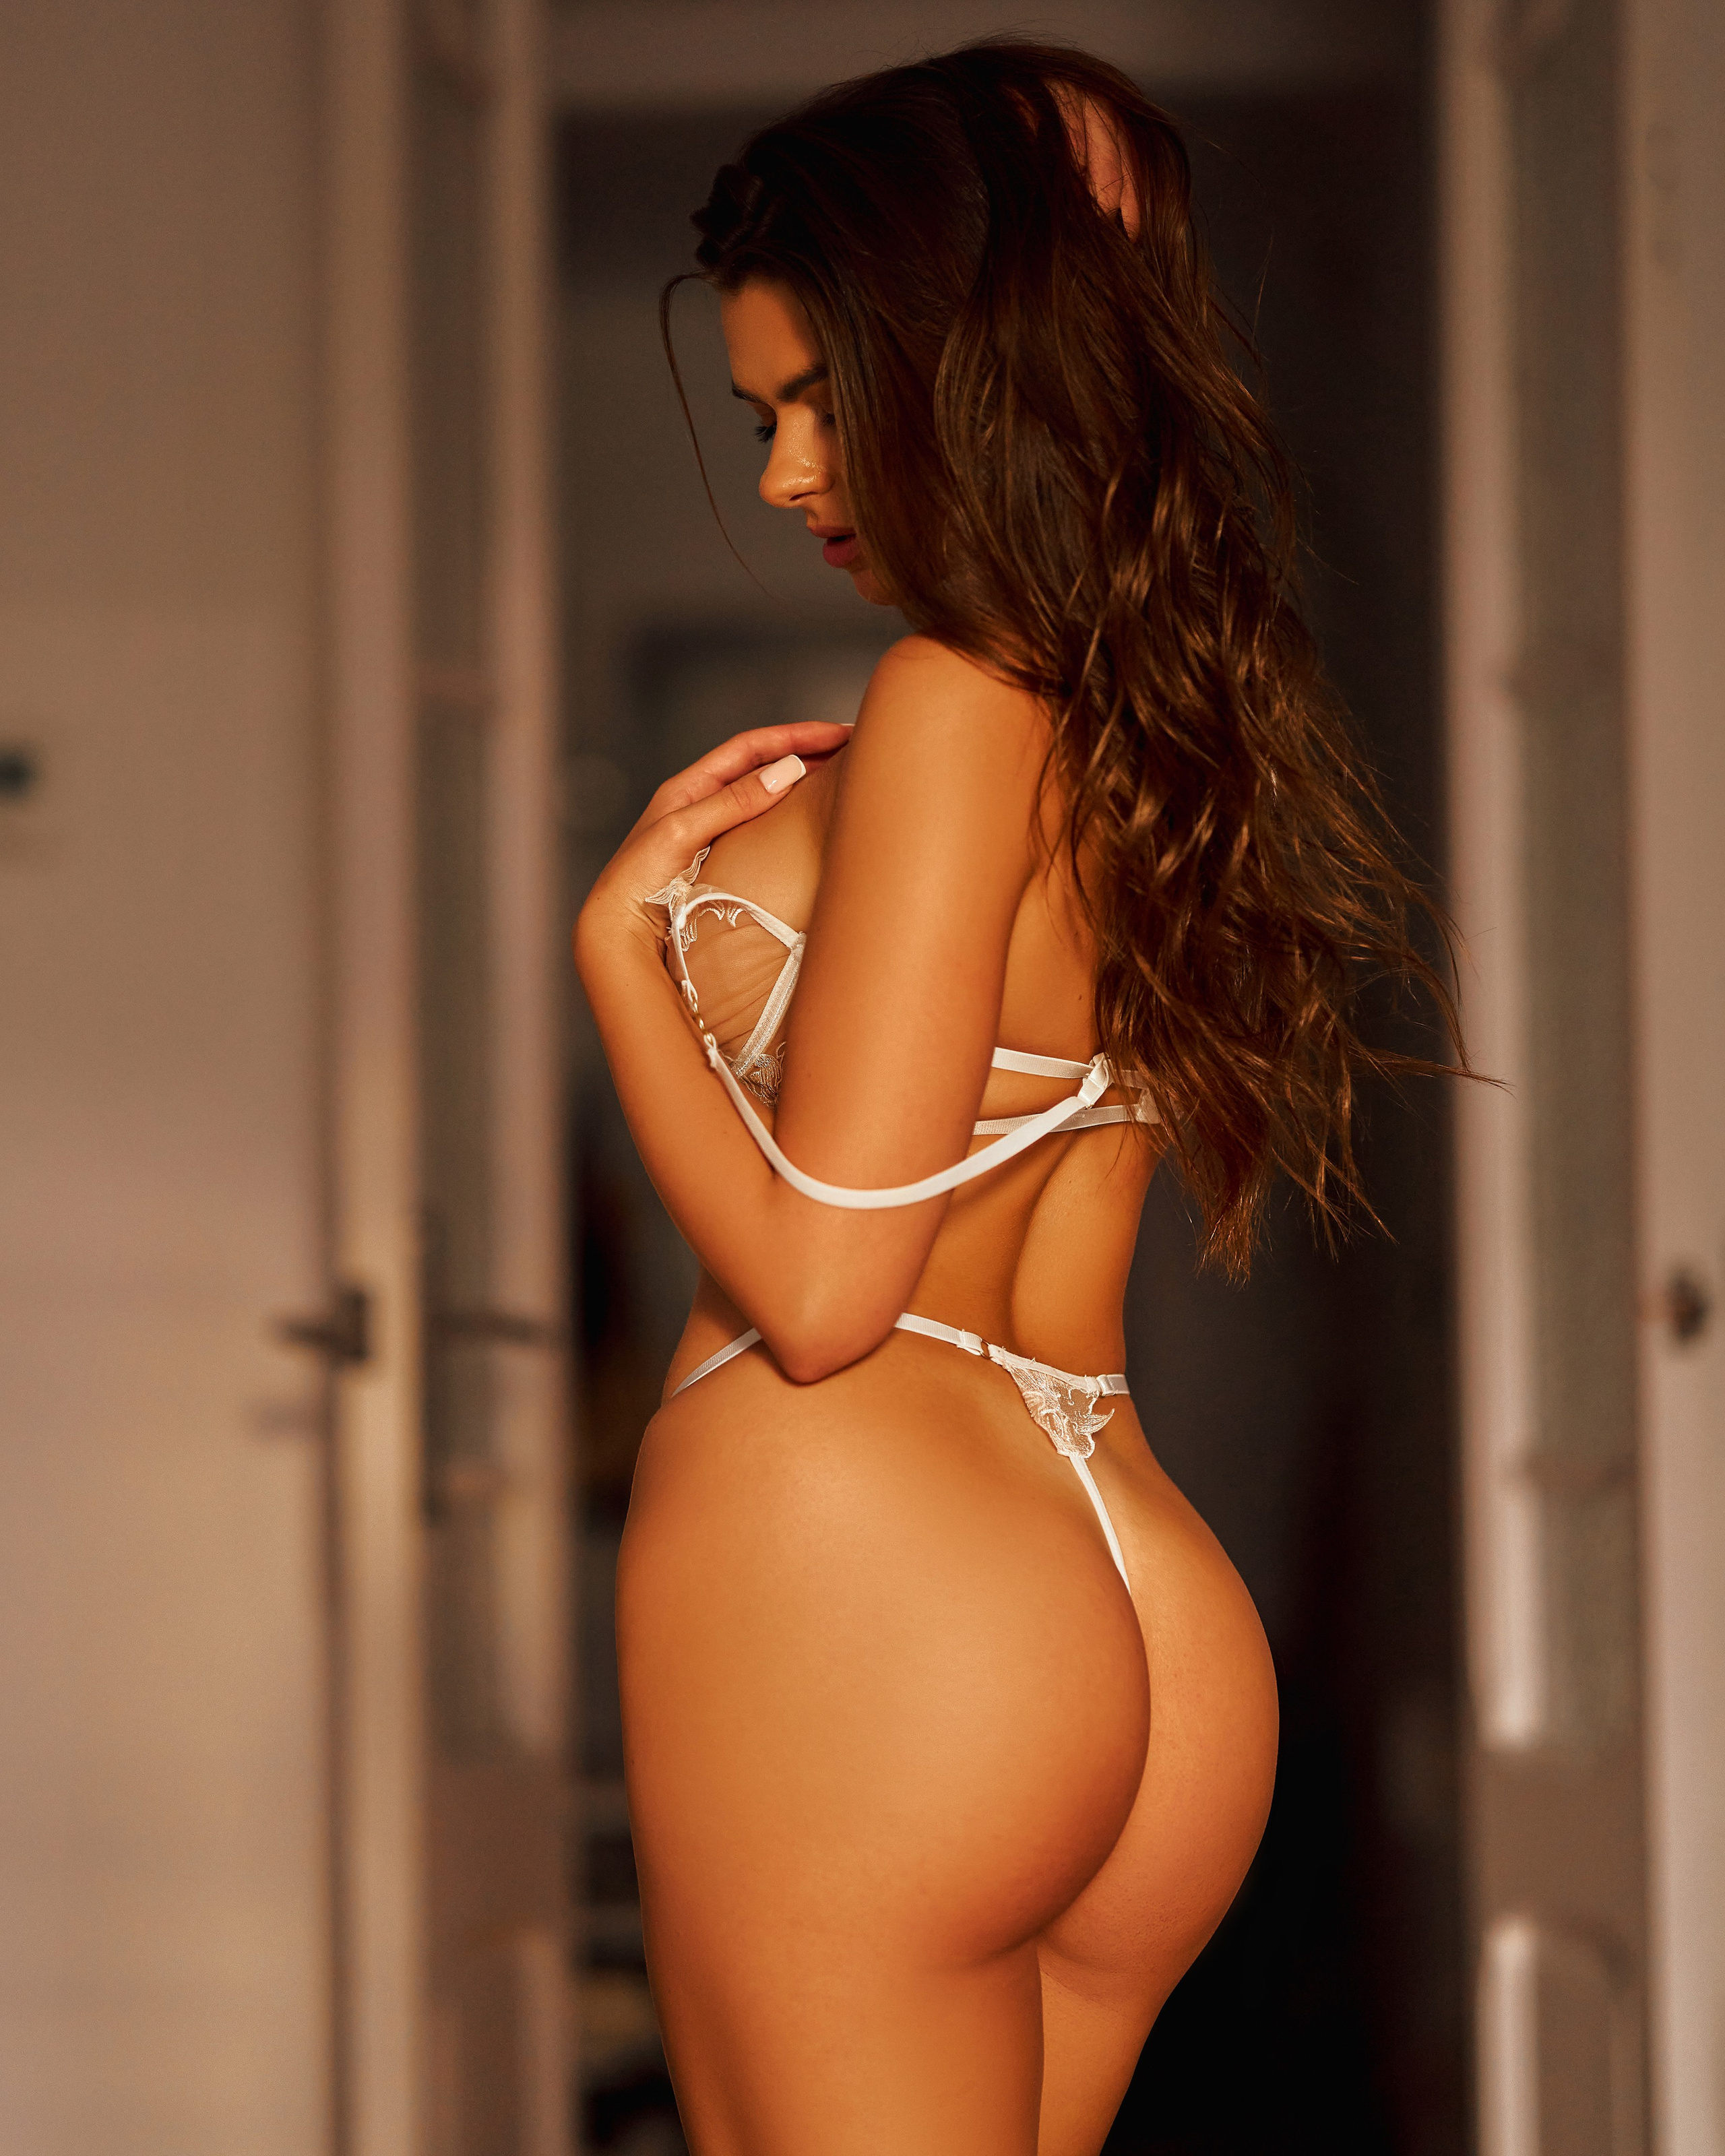
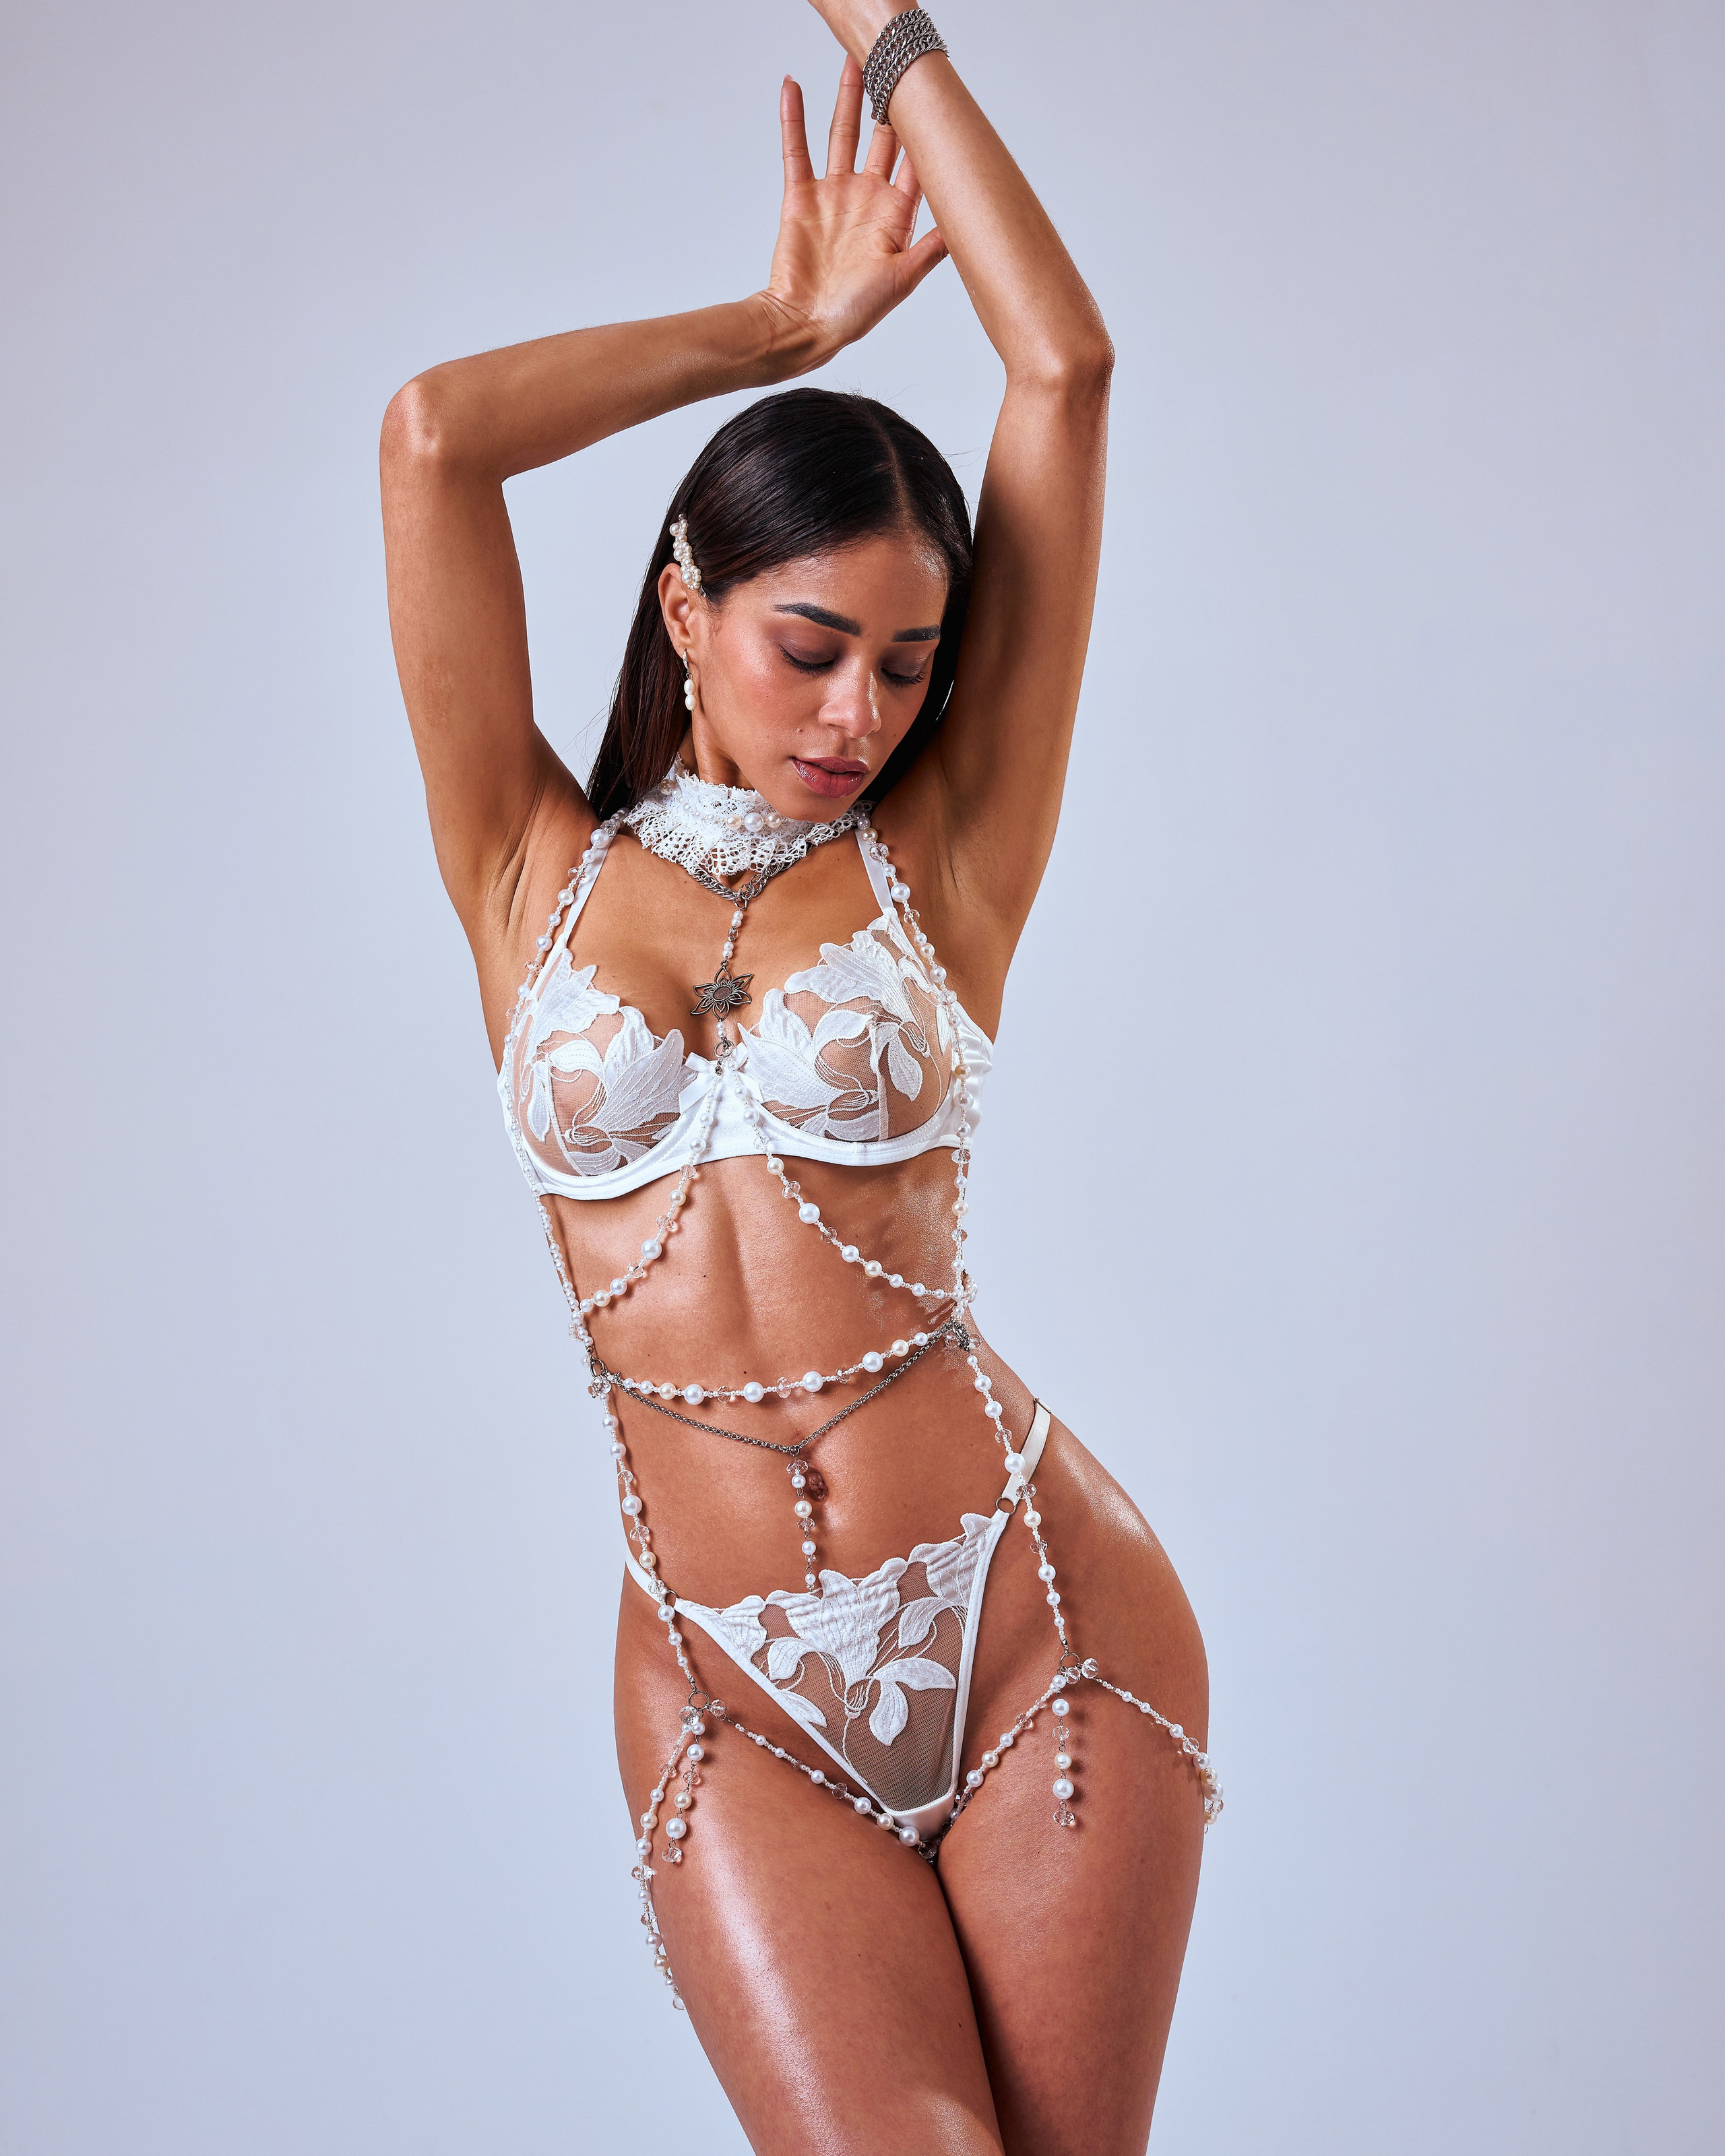
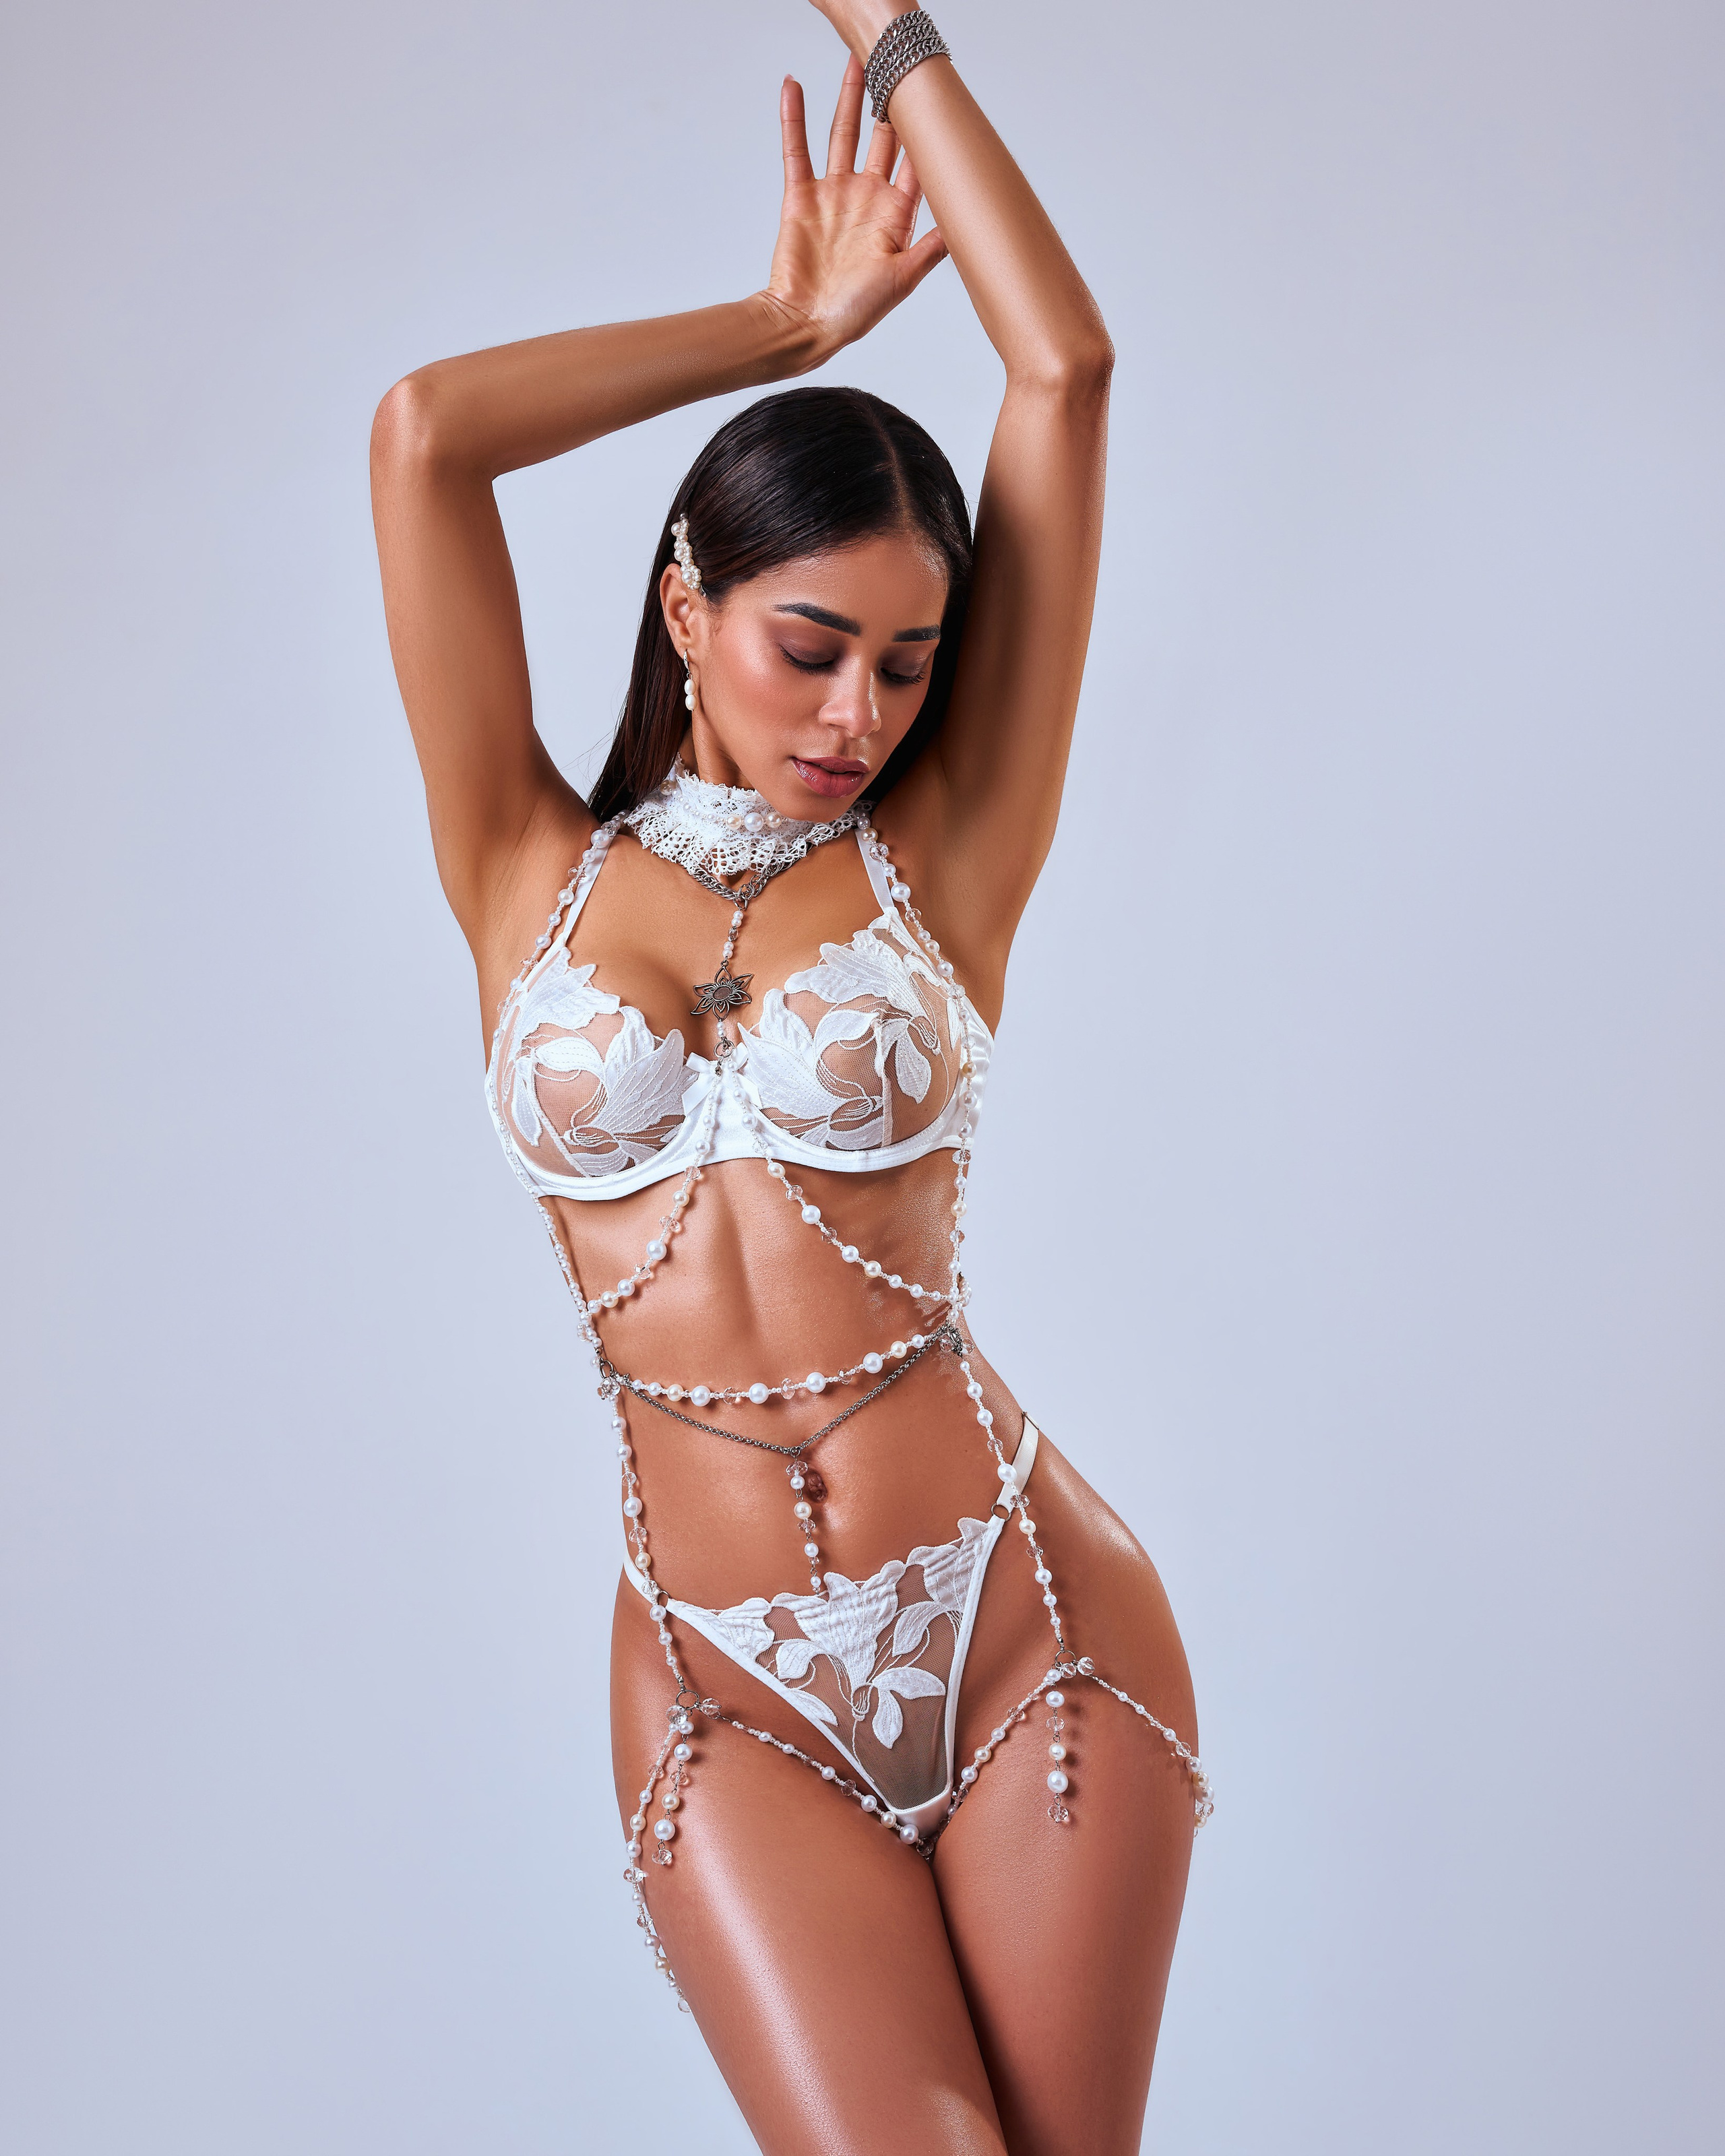
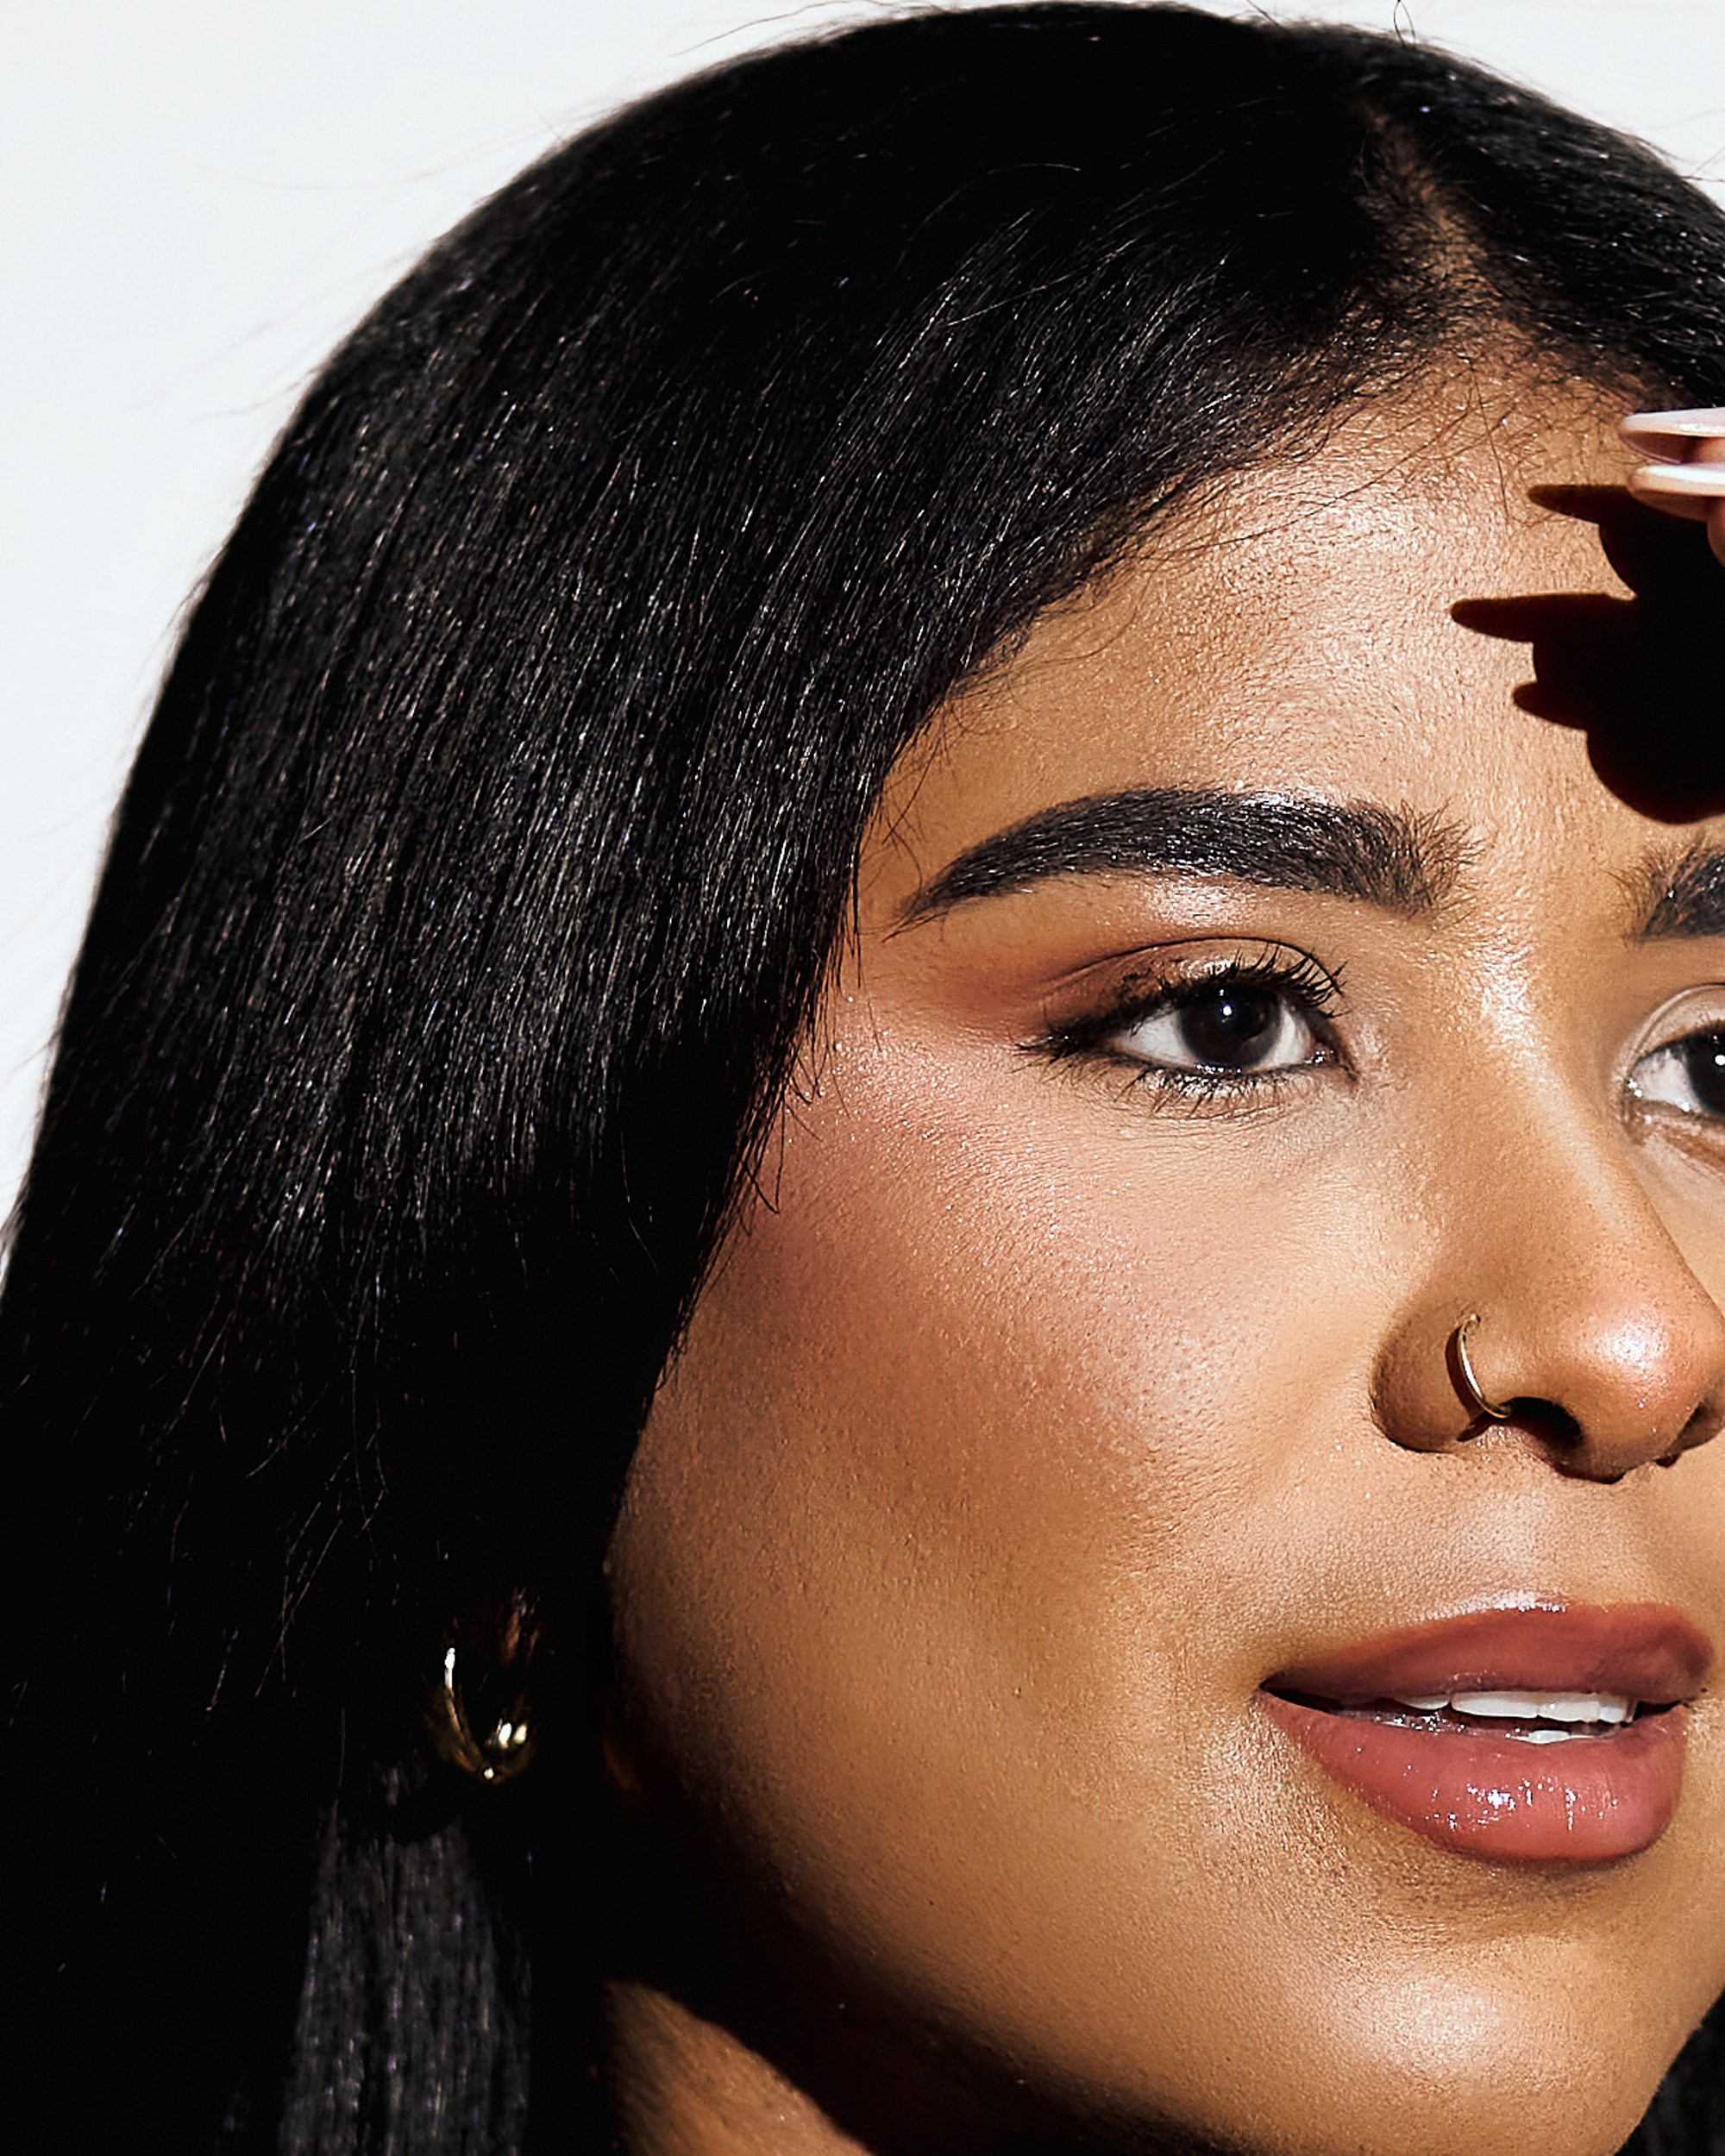
Stage 2: Retouching — The Art of Flawlessness
Once the color and light are perfectly set, the meticulous work begins—retouching. This is the most painstaking stage, requiring maximum concentration and a sense of balance. My goal isn’t to turn you into a wax figure, but to enhance your natural beauty by removing anything temporary or distracting.
I work on each image individually:
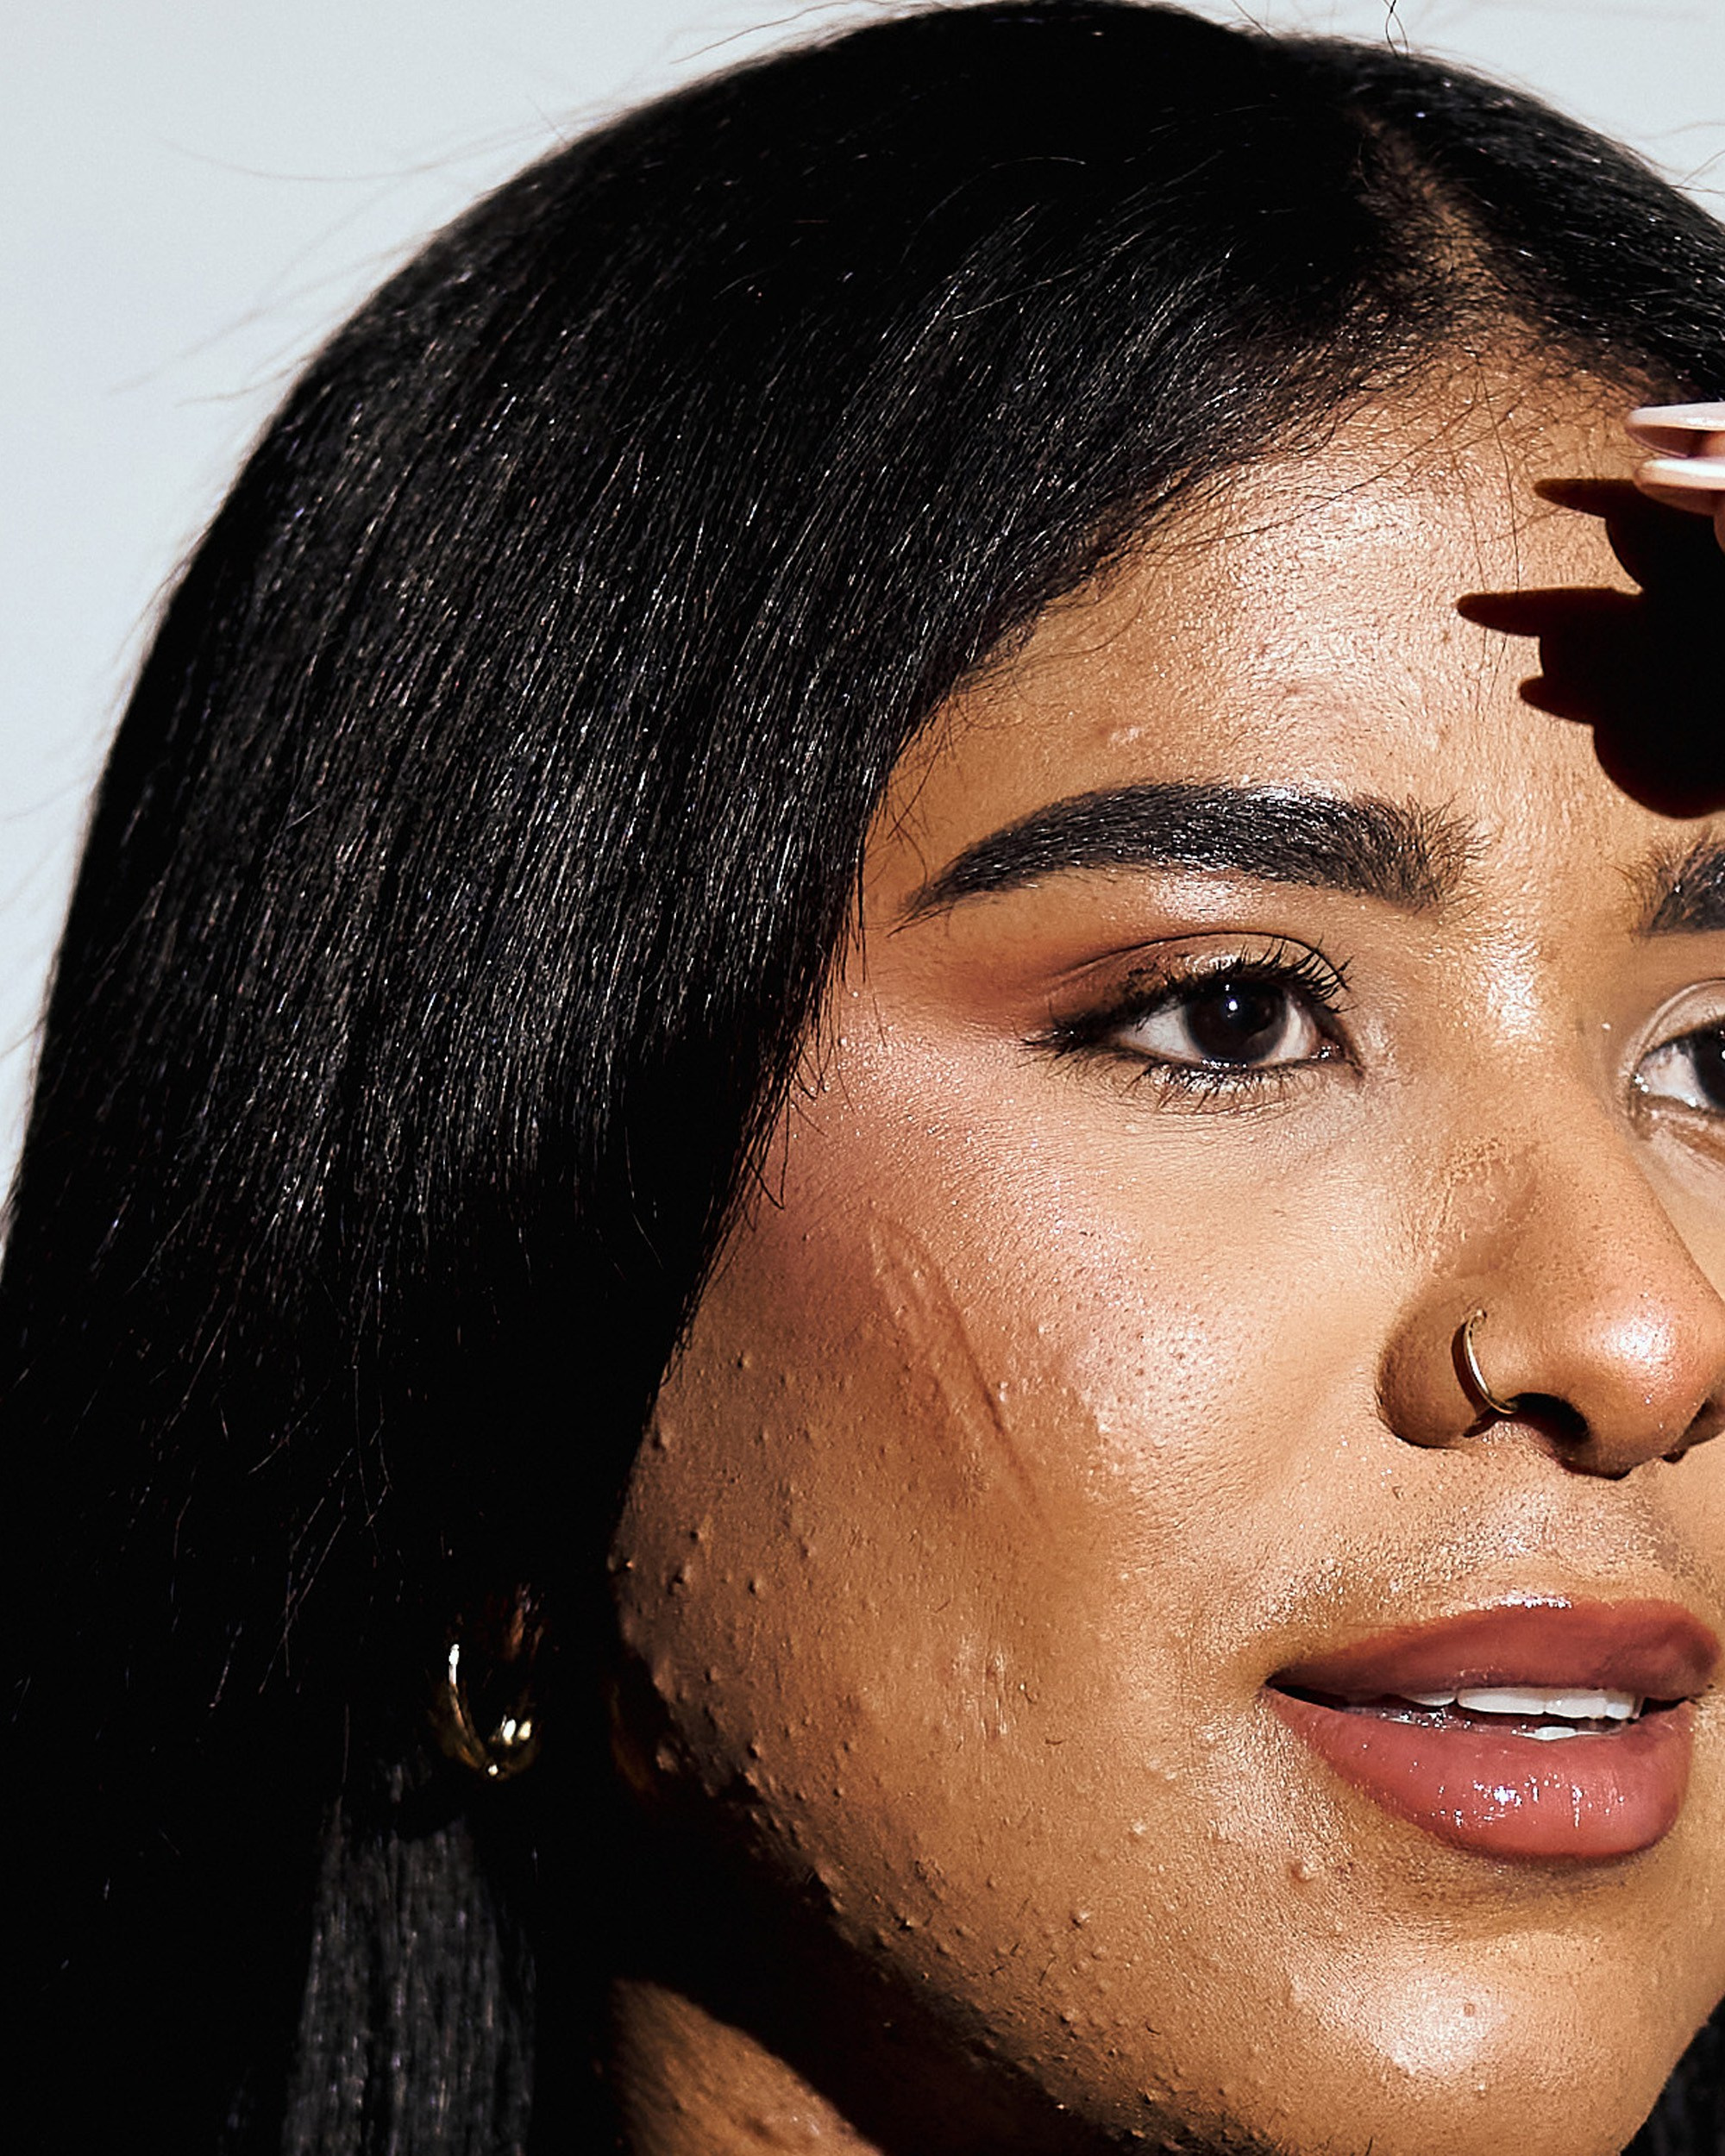
- Skin Cleaning: I carefully remove temporary imperfections (signs of fatigue, redness, minor blemishes) while leaving the skin’s natural texture intact, so it remains alive and authentic.
- Tone Evening: I even out the skin tone, making it radiant and smooth, removing unwanted shine or shadows that might distort facial features.
- Sculpting: This is a subtle tool. I gently adjust body lines if necessary, but always preserve natural proportions and your unique individuality.
- Final Touches: Removing distracting background elements, sharpening key areas, and a final quality check.
Retouching
Stage 2: Retouching — The Art of Flawlessness
Move the slider to see the result before and after retouching
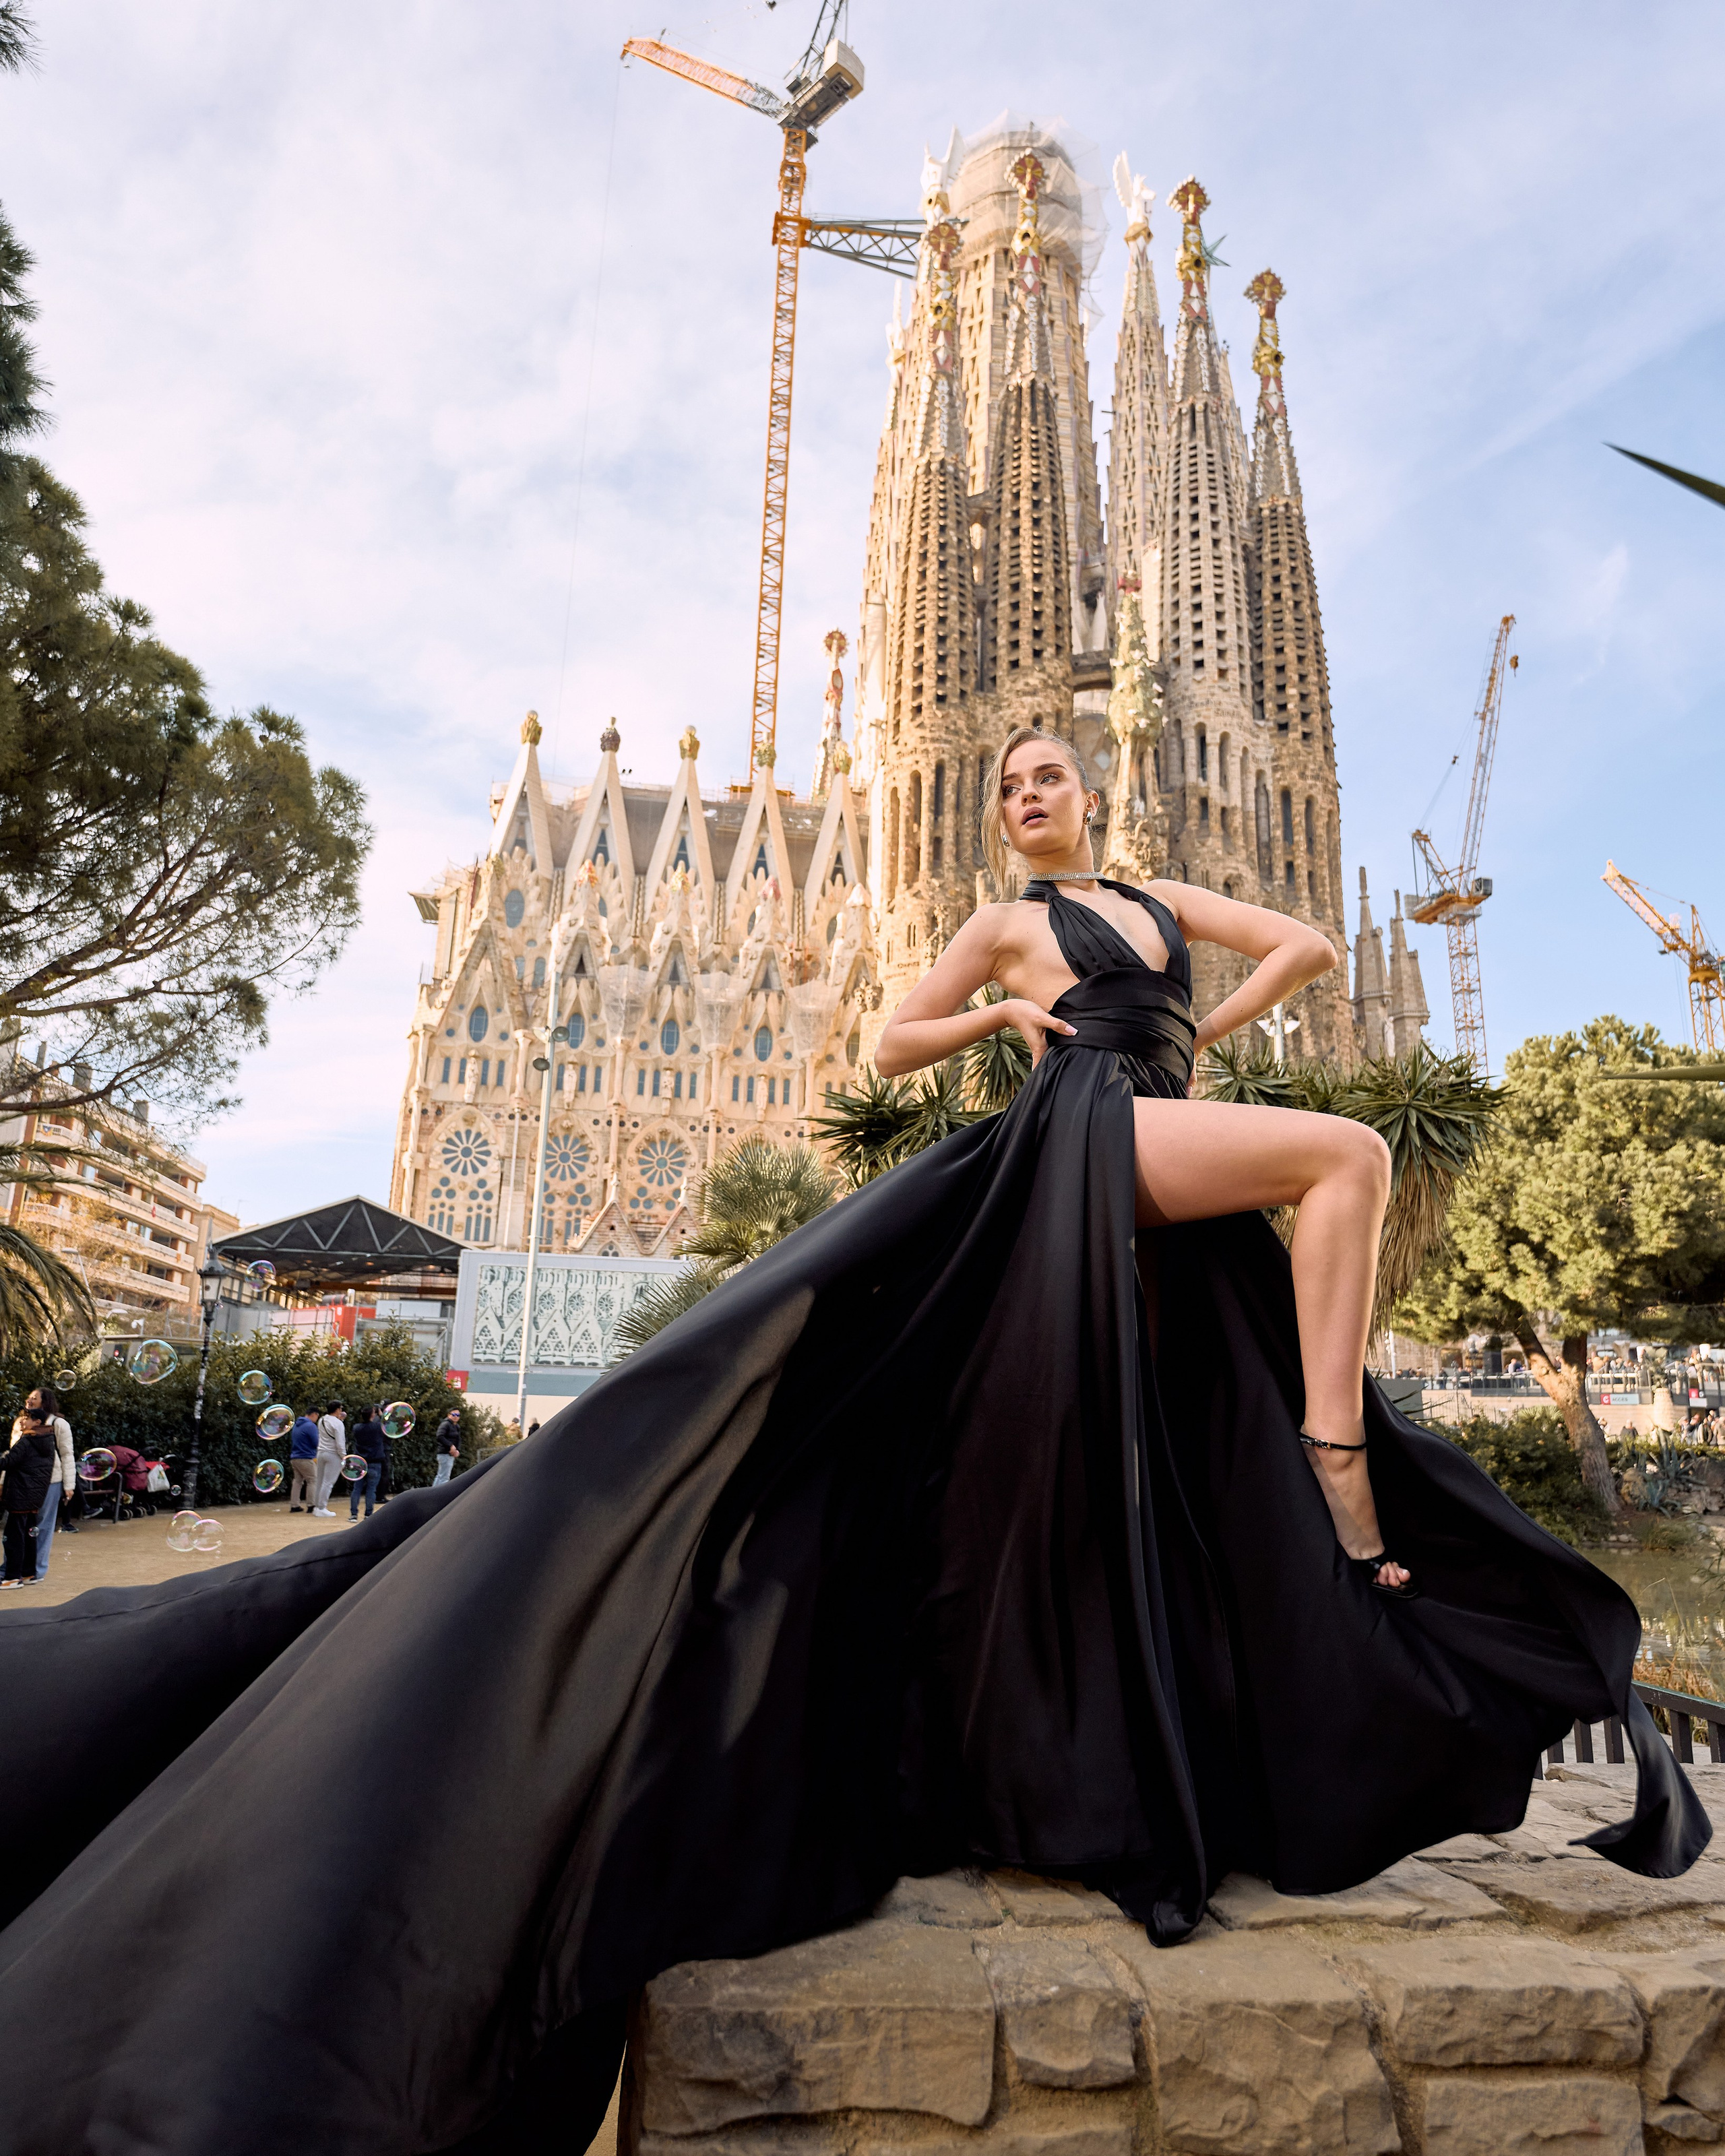
The Result
In the end, you receive more than just “well-edited photos.” You get complete artistic pieces. These are the frames you can proudly print in large format, hang on your wall, or submit for publication.
Every photo in your gallery has passed through my hands and my vision. I take pride in each step of this process, because this is how, step by step, your perfect photograph comes to life.
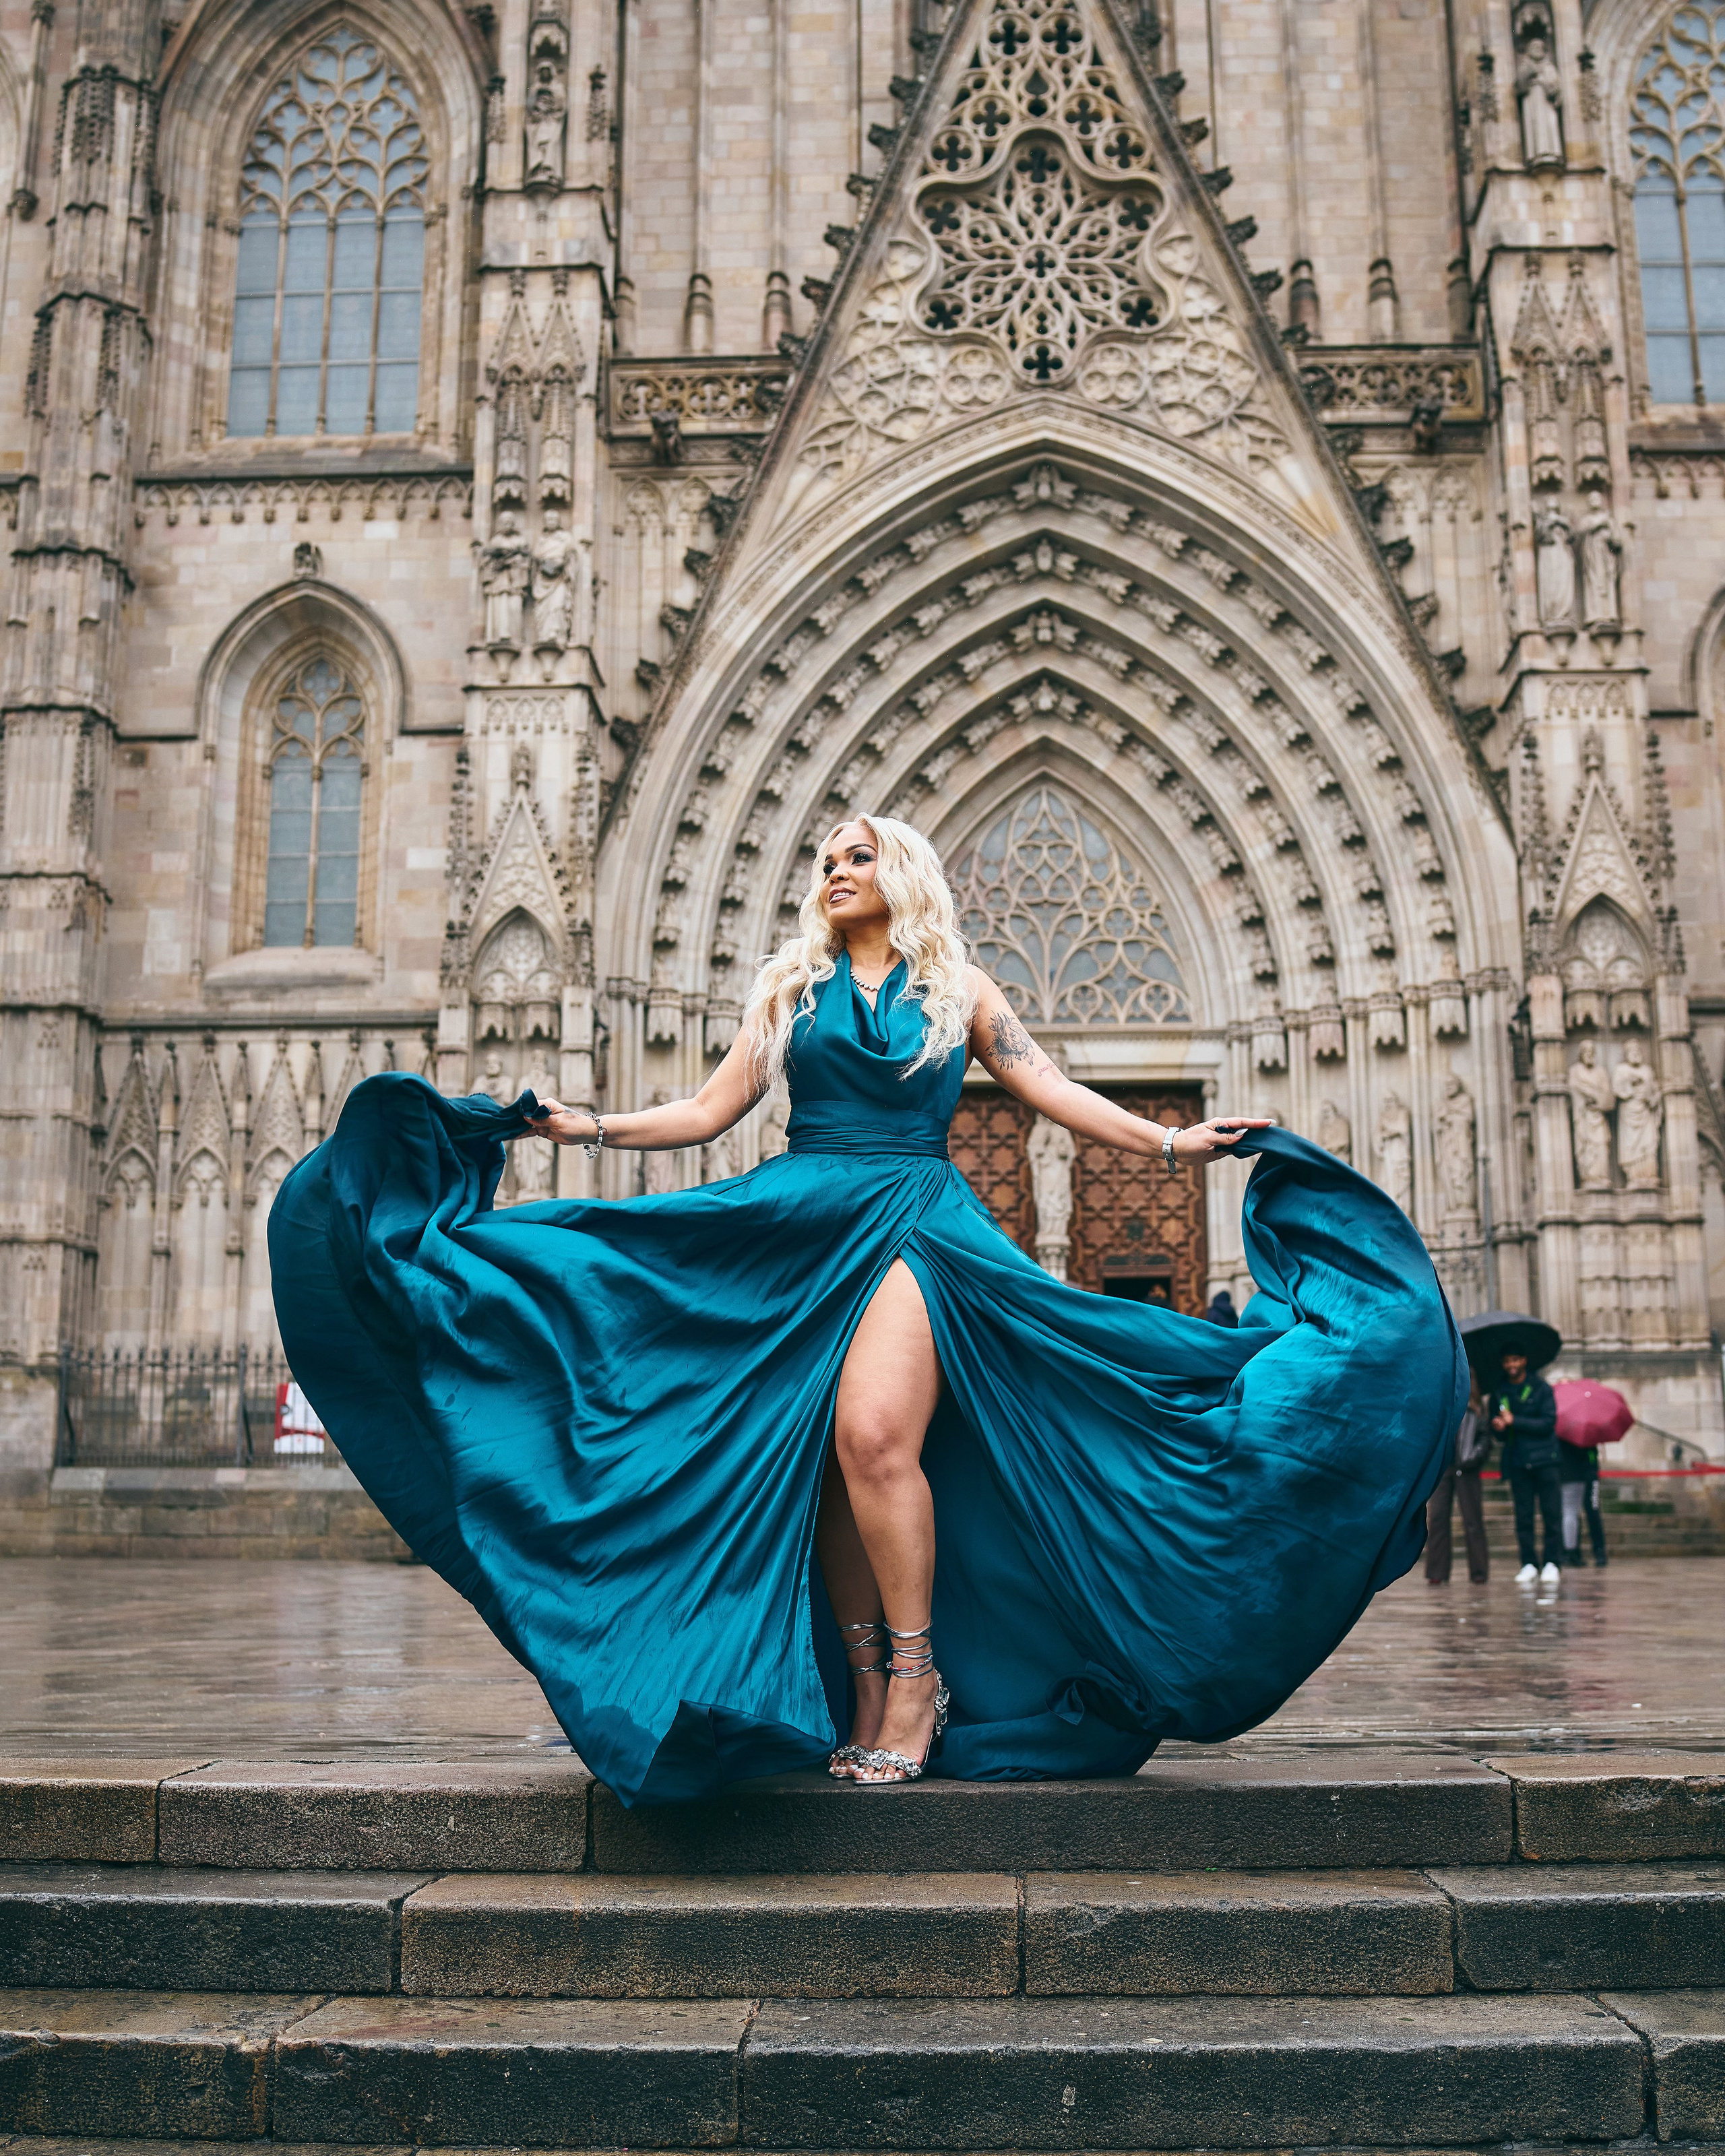


RAW -> Capture One -> Retouch.
First, I develop the digital negative in Capture One, enriching the frame with color, volume, and light. Then, the detailed retouching begins: skin cleaning, tone evening, subtle sculpting, and removal of distracting elements. The result isn’t just an edited photo, but a living, vibrant image that breathes and preserves your true self.